> ## Documentation Index
> Fetch the complete documentation index at: https://www.integrate.io/docs/llms.txt
> Use this file to discover all available pages before exploring further.
# SSH tunnel setup for ELT & CDC
> Set up an SSH tunnel in Integrate.io ELT & CDC for secure database connections over untrusted networks. Encrypt data transfers through SSH.
## Creating Integrate.io ELT Connection
On **Connection options** of Source or Destination creation, select **Connect via secure tunnel**. Select **Create a new tunnel**
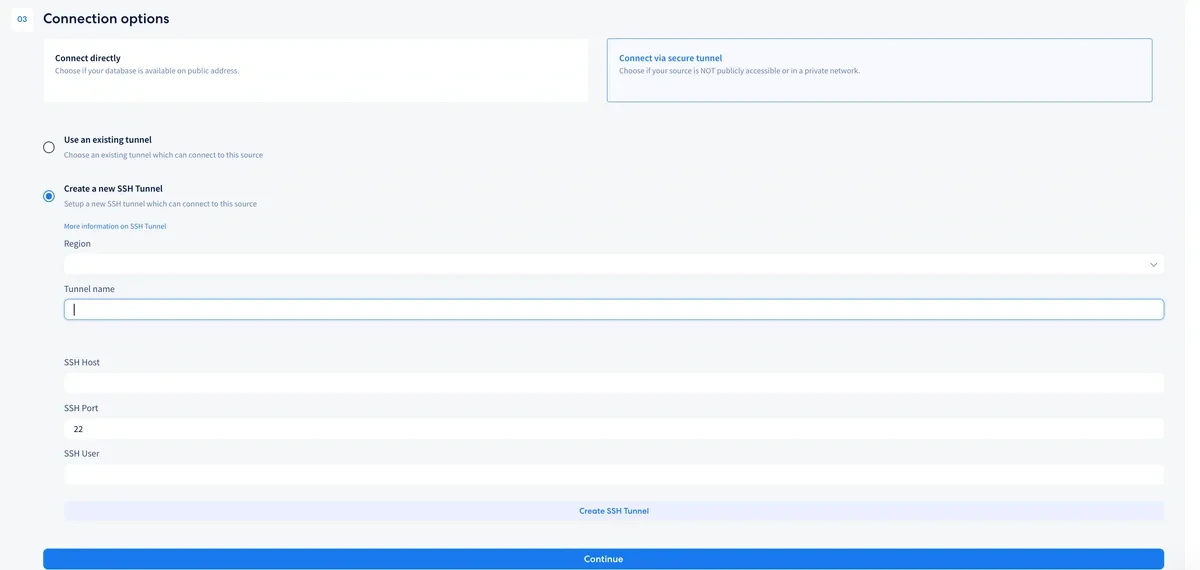 Supply the region, tunnel name and the SSH tunnel details. Click **Create SSH Tunnel** to create the tunnel
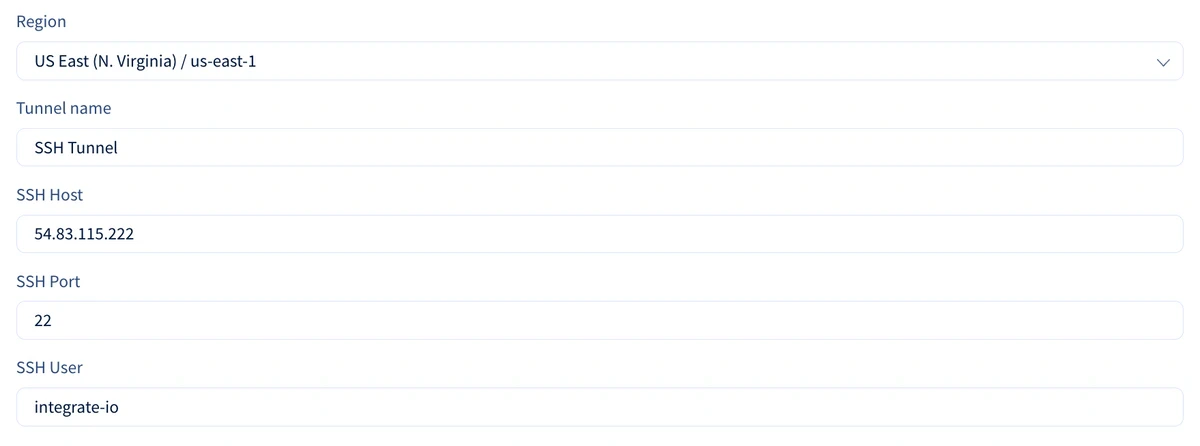 Copy the **SSH Public Key** by clicking the Copy button and prepare your tunnel host for access.
 Once your tunnel host is prepared, click **Test Tunnel Connection** to test the connection. If connection is successful, you should see the **Active** check.
 ### For Linux - Preparing the tunnel host
You will need to prepare your host (either bastion host or tunnel server) by creating an integrate.io ELT user. Here’s how:
`sudo groupadd integrate-io`
`sudo useradd -m -g integrate-io integrate-io`
`sudo su - integrate-io`
`mkdir ~/.ssh && chmod 700 ~/.ssh`
`touch ~/.ssh/authorized_keys && chmod 600 ~/.ssh/authorized_keys`
`echo '' >> ~/.ssh/authorized_keys`
Allow access to your server's host and port from [Integrate.io ELT's IP addresses](/cdc/ip-list)
`sudo ufw allow from to any port 22 proto tcp`
### For Windows - Preparing the tunnel host
We will use the `Administrator` user for this guide. If you are using a different user, please make sure that it belongs to the `Adminstrator` group.
Run the following commands in Powershell as Administrator.
```bash theme={null}
Get-WindowsCapability -Online | Where-Object Name -like 'OpenSSH*'
```
### For Linux - Preparing the tunnel host
You will need to prepare your host (either bastion host or tunnel server) by creating an integrate.io ELT user. Here’s how:
`sudo groupadd integrate-io`
`sudo useradd -m -g integrate-io integrate-io`
`sudo su - integrate-io`
`mkdir ~/.ssh && chmod 700 ~/.ssh`
`touch ~/.ssh/authorized_keys && chmod 600 ~/.ssh/authorized_keys`
`echo '' >> ~/.ssh/authorized_keys`
Allow access to your server's host and port from [Integrate.io ELT's IP addresses](/cdc/ip-list)
`sudo ufw allow from to any port 22 proto tcp`
### For Windows - Preparing the tunnel host
We will use the `Administrator` user for this guide. If you are using a different user, please make sure that it belongs to the `Adminstrator` group.
Run the following commands in Powershell as Administrator.
```bash theme={null}
Get-WindowsCapability -Online | Where-Object Name -like 'OpenSSH*'
```
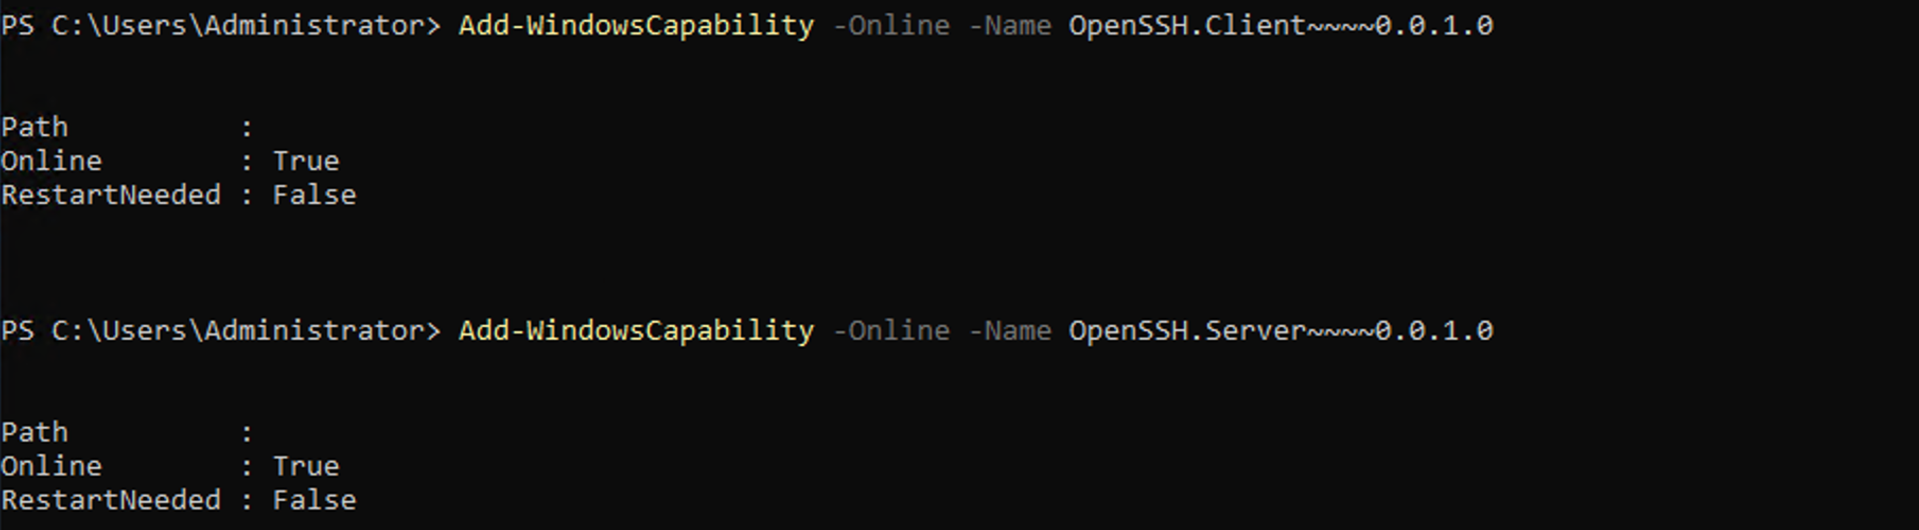
 ```bash theme={null}
# Install the OpenSSH Client
Add-WindowsCapability -Online -Name OpenSSH.Client~~~~0.0.1.0
# Install the OpenSSH Server
Add-WindowsCapability -Online -Name OpenSSH.Server~~~~0.0.1.0
```
```bash theme={null}
# Install the OpenSSH Client
Add-WindowsCapability -Online -Name OpenSSH.Client~~~~0.0.1.0
# Install the OpenSSH Server
Add-WindowsCapability -Online -Name OpenSSH.Server~~~~0.0.1.0
```
 ```bash theme={null}
Add-Content -Force -Path $env:ProgramData\ssh\sshd_config -Value "\`nPubkeyAuthentication yes"
```
You can also open the file using notepad and look for `PubkeyAuthentication`
```bash theme={null}
notepad.exe $env:ProgramData\ssh\sshd_config
```
```bash theme={null}
# Start the sshd service
Start-Service sshd
# Make the SSH service automatically start on startup
Set-Service -Name sshd -StartupType 'Automatic'
```
```bash theme={null}
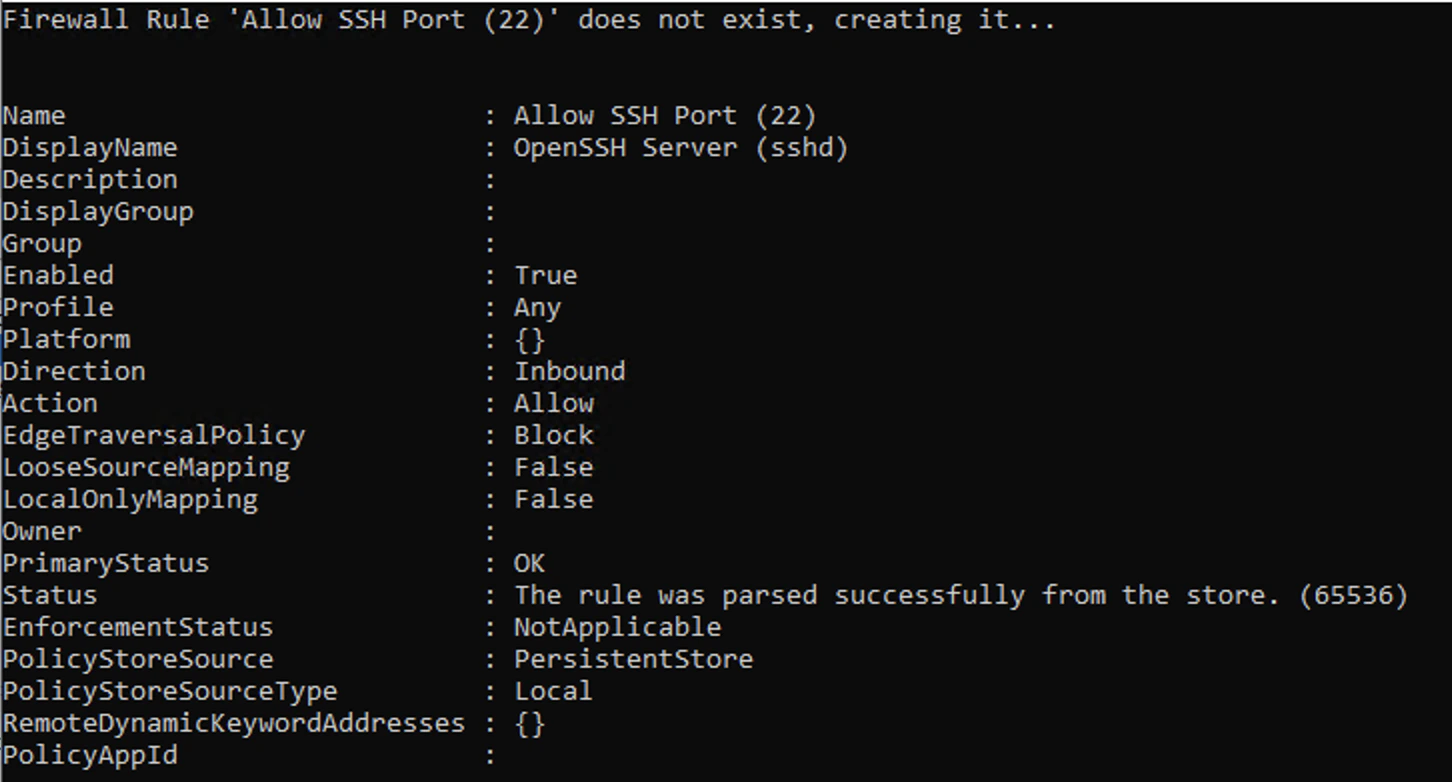
if (!(Get-NetFirewallRule -Name "Allow SSH Port (22)" -ErrorAction SilentlyContinue | Select-Object Name, Enabled)) {
Write-Output "Firewall Rule 'Allow SSH Port (22)' does not exist, creating it..."
New-NetFirewallRule -Name 'Allow SSH Port (22)' -DisplayName 'OpenSSH Server (sshd)' -Enabled True -Direction Inbound -Protocol TCP -Action Allow -LocalPort 22
} else {
Write-Output "Firewall rule 'Allow SSH Port (22)' has been created and exists."
}
```
```bash theme={null}
Add-Content -Force -Path $env:ProgramData\ssh\sshd_config -Value "\`nPubkeyAuthentication yes"
```
You can also open the file using notepad and look for `PubkeyAuthentication`
```bash theme={null}
notepad.exe $env:ProgramData\ssh\sshd_config
```
```bash theme={null}
# Start the sshd service
Start-Service sshd
# Make the SSH service automatically start on startup
Set-Service -Name sshd -StartupType 'Automatic'
```
```bash theme={null}
if (!(Get-NetFirewallRule -Name "Allow SSH Port (22)" -ErrorAction SilentlyContinue | Select-Object Name, Enabled)) {
Write-Output "Firewall Rule 'Allow SSH Port (22)' does not exist, creating it..."
New-NetFirewallRule -Name 'Allow SSH Port (22)' -DisplayName 'OpenSSH Server (sshd)' -Enabled True -Direction Inbound -Protocol TCP -Action Allow -LocalPort 22
} else {
Write-Output "Firewall rule 'Allow SSH Port (22)' has been created and exists."
}
```
 Add the public key from [Integrate.io](http://Integrate.io). Replace `ssh-rsa ...` with the public key content
```bash theme={null}
$authorizedKey = "ssh-rsa ..."
Add-Content -Force -Path $env:ProgramData\ssh\administrators_authorized_keys -Value $authorizedKey
# Apply the necessary permission changes
icacls.exe ""$env:ProgramData\ssh\administrators_authorized_keys"" /inheritance:r /grant ""Administrators:F"" /grant ""SYSTEM:F""
```
Allow access to your server's host and port from [Integrate.io ELT's IP addresses](/cdc/ip-list).
**Notes:**
* If the database is hosted inside the Windows machine and accessible locally, use the local IP of the Windows machine as the database host in [Integrate.io](http://Integrate.io). You can get it by running `ipconfig`.
* The SSH tunnel username is `Administrator` for this guide.
## Related
Add the public key from [Integrate.io](http://Integrate.io). Replace `ssh-rsa ...` with the public key content
```bash theme={null}
$authorizedKey = "ssh-rsa ..."
Add-Content -Force -Path $env:ProgramData\ssh\administrators_authorized_keys -Value $authorizedKey
# Apply the necessary permission changes
icacls.exe ""$env:ProgramData\ssh\administrators_authorized_keys"" /inheritance:r /grant ""Administrators:F"" /grant ""SYSTEM:F""
```
Allow access to your server's host and port from [Integrate.io ELT's IP addresses](/cdc/ip-list).
**Notes:**
* If the database is hosted inside the Windows machine and accessible locally, use the local IP of the Windows machine as the database host in [Integrate.io](http://Integrate.io). You can get it by running `ipconfig`.
* The SSH tunnel username is `Administrator` for this guide.
## Related