> ## Documentation Index
> Fetch the complete documentation index at: https://www.integrate.io/docs/llms.txt
> Use this file to discover all available pages before exploring further.
# ETL: Connecting to Dynamics 365
> Integrate.io ETL can access your Dynamics 365 data. This article details creating the Dynamics 365 connection in Integrate.io ETL.
## Tenant Id and Instance URL
Before you start, you need to get **Tenant Id** and **Instance URL** for your Dynamics 365 account. Here is how you can get them:
#### Step 1: Access Admin Center
Go to [https://admin.powerplatform.microsoft.com](https://admin.powerplatform.microsoft.com)
Sign in with your Dynamics 365 admin account
Click **Environments** in the left navigation (for new admin portal: **Manage** -> **Environments**)
Find your Dynamics 365 environment in the list
Click the environment name
In the environment details, look for **Environment URL**
Copy the URL (e.g., `https://yourorg.crm.dynamics.com`)
This is your **Instance URL**
#### Step 2: Get Tenant ID
**Open a new tab** and go to [https://portal.azure.com](https://portal.azure.com)
**Sign in** with your current account
**Search for "Tenant Properties"** in the top search bar
**Copy the "Tenant ID"** (it's a long GUID)
## To create a Dynamics 365 connection in Integrate.io ETL
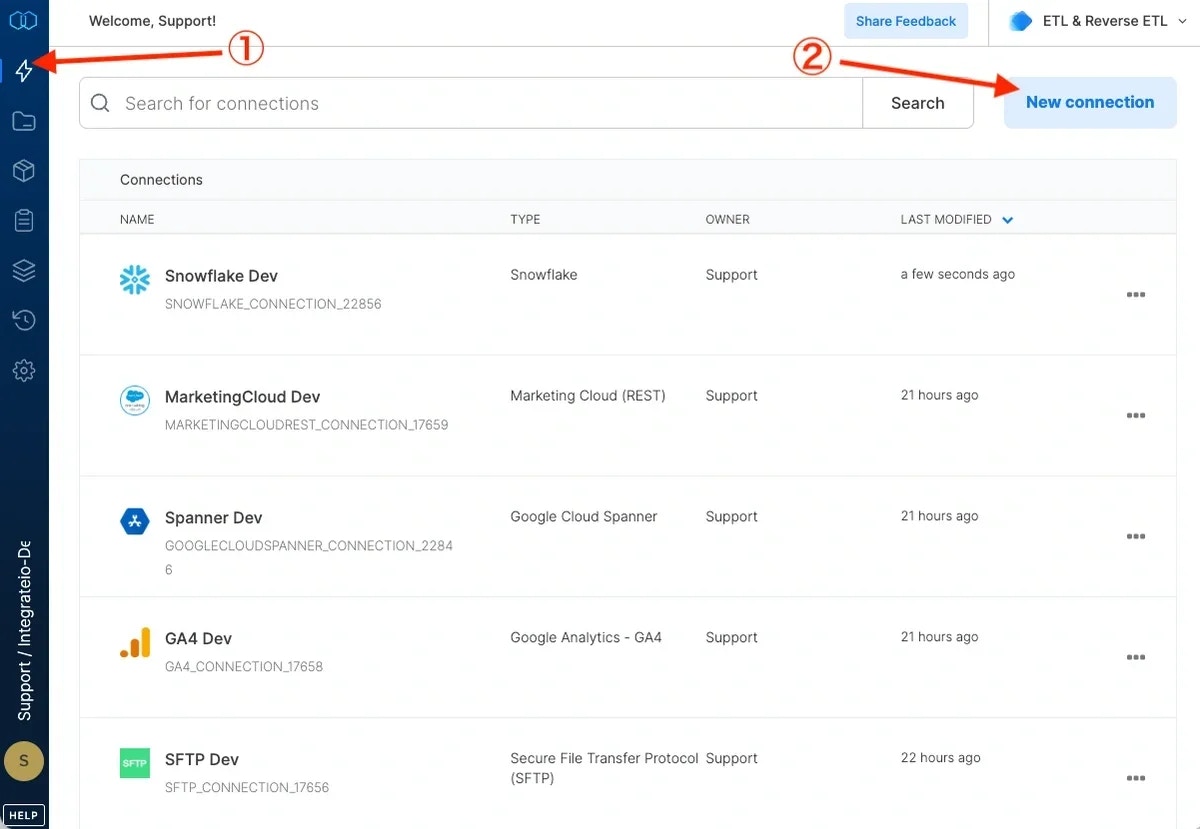
Click the **Connections** icon (lightning bolt) on the top left menu.
To create a connection, click **New connection**.
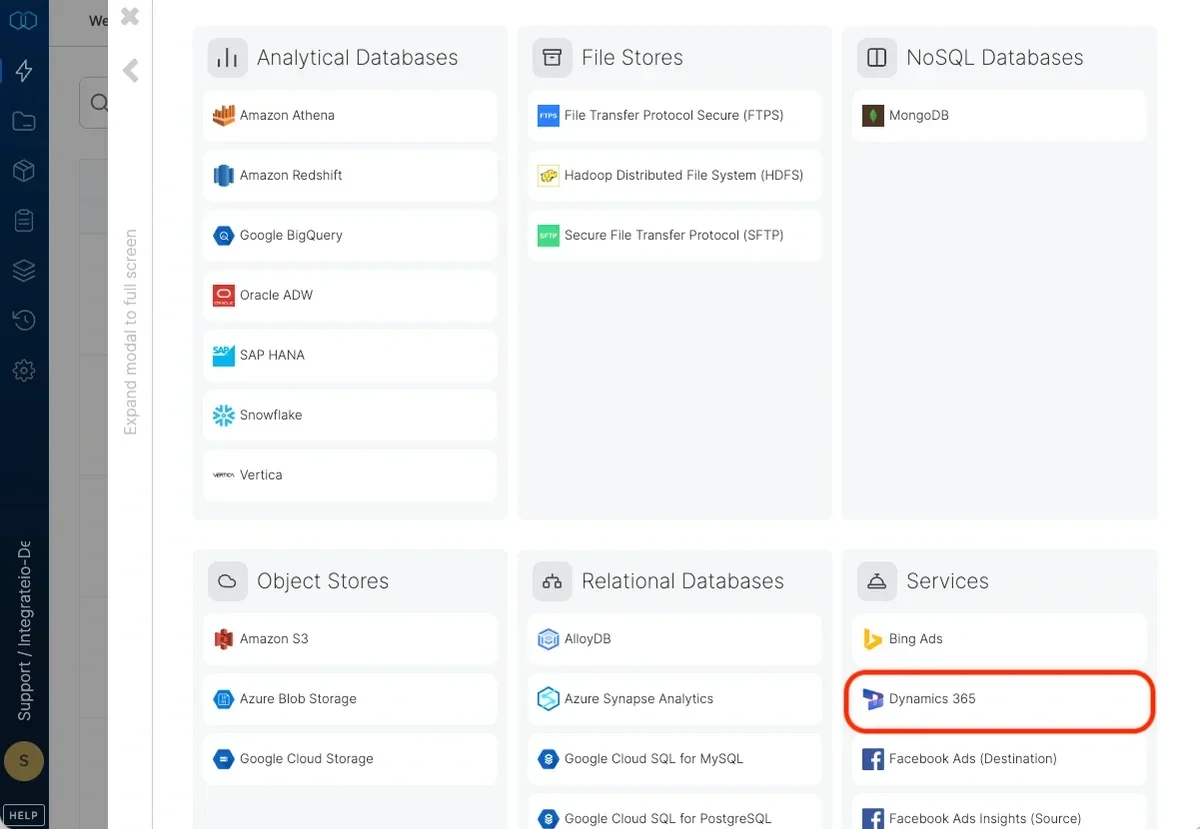
 Select Dynamics 365.
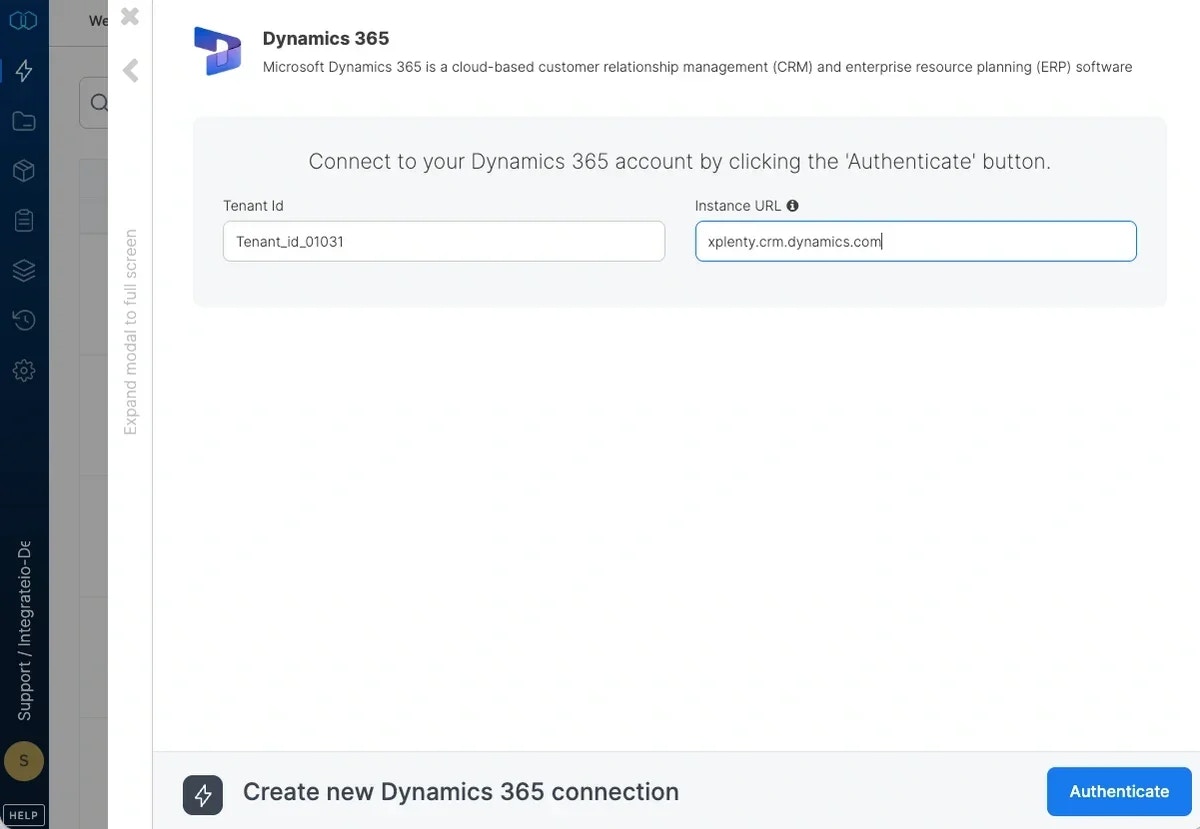
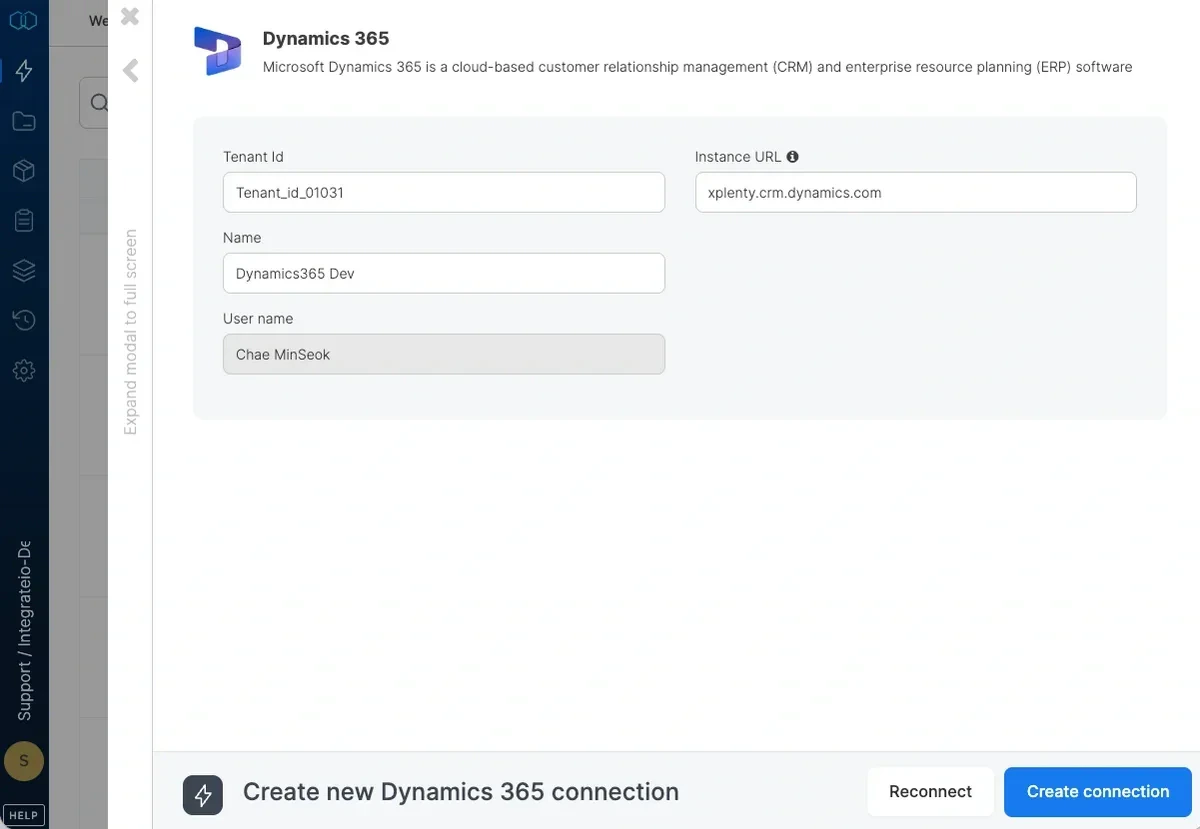
 Fill **Tenant ID** and **Instance URL** (without https\:// at the beginning).
Click **Authenticate** button.
Fill **Tenant ID** and **Instance URL** (without https\:// at the beginning).
Click **Authenticate** button.
 In the new window, sign in with your Dynamics 365 account or click **Sign in with a different Microsoft account**.
In the next Microsoft account page click **Yes** to let Integrate.io ETL access your information.
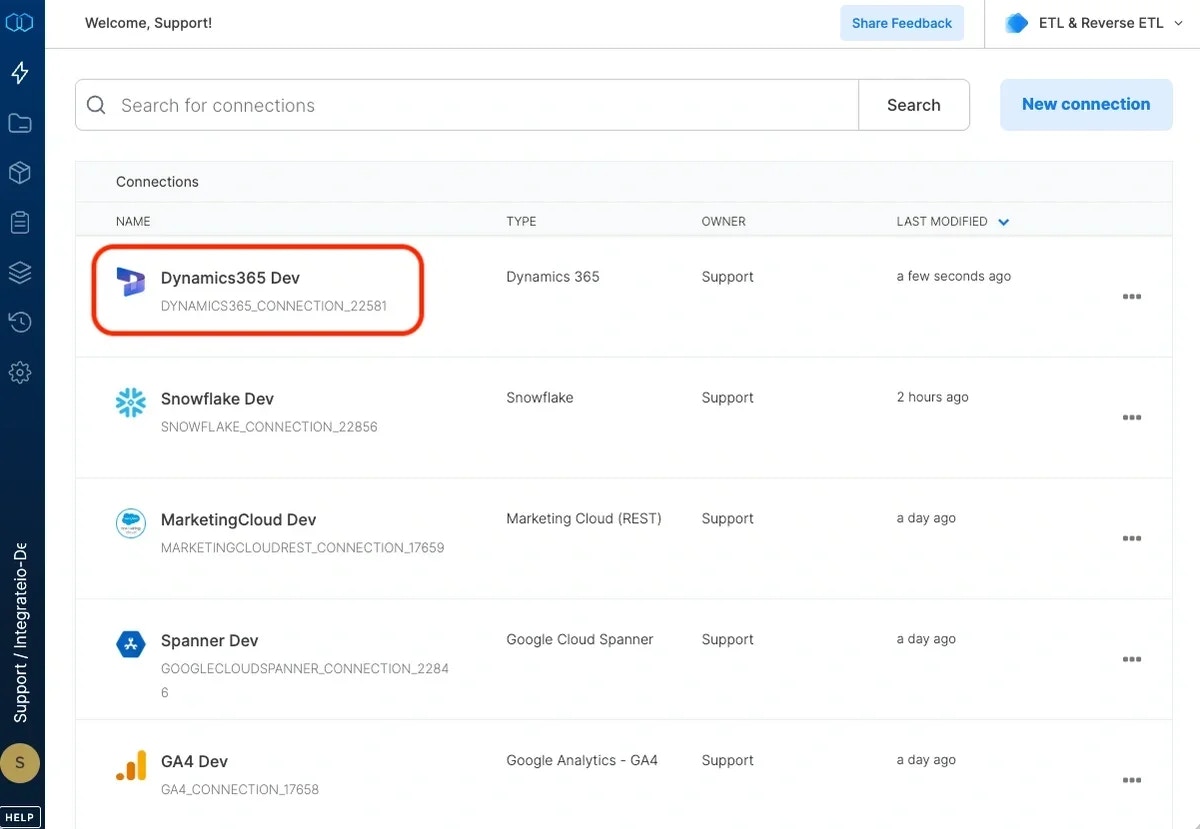
In the new Dynamics 365 connection window, name the connection and click **Create connection.**
In the new window, sign in with your Dynamics 365 account or click **Sign in with a different Microsoft account**.
In the next Microsoft account page click **Yes** to let Integrate.io ETL access your information.
In the new Dynamics 365 connection window, name the connection and click **Create connection.**
 ## To modify Dynamics 365 connections in Integrate.io ETL
Click the Connections icon (lightning bolt) on the top left menu.
Click a connection to open and modify it. Make any necessary changes, then click Reconnect, and Save changes. To exit the Dynamics 365 connection window without changes, click Back to connections (grey tab on the left side) on the Dynamics 365 connection window.
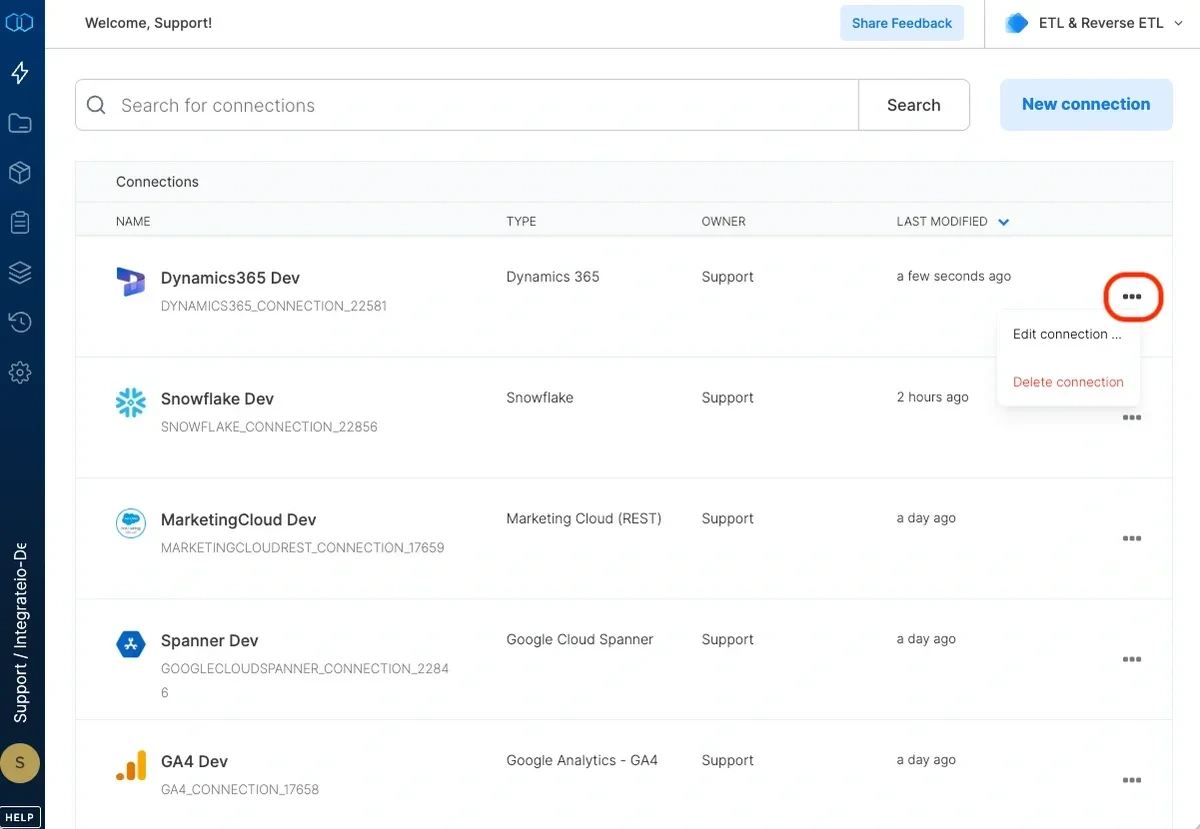
To delete a Dynamics 365 connection, click the three vertical dots on the far right of the connection listing and select the Delete connection option.
## To modify Dynamics 365 connections in Integrate.io ETL
Click the Connections icon (lightning bolt) on the top left menu.
Click a connection to open and modify it. Make any necessary changes, then click Reconnect, and Save changes. To exit the Dynamics 365 connection window without changes, click Back to connections (grey tab on the left side) on the Dynamics 365 connection window.
To delete a Dynamics 365 connection, click the three vertical dots on the far right of the connection listing and select the Delete connection option.