> ## Documentation Index
> Fetch the complete documentation index at: https://www.integrate.io/docs/llms.txt
> Use this file to discover all available pages before exploring further.
# ETL: Connecting to Xero
> Connect Xero accounting data to Integrate.io ETL. Set up OAuth authorization and build a data pipeline for reading Xero financial records.
Integrate.io ETL can access your Xero data. This article details creating the Xero connection and the process of building a data pipeline to read Xero data in Integrate.io ETL. There are also pre-built templates to read data from Xero. Please see [Create a package from a template](/docs/etl/create-a-package-from-a-template) for instructions on using a template.
## To create a Xero connection in Integrate.io ETL
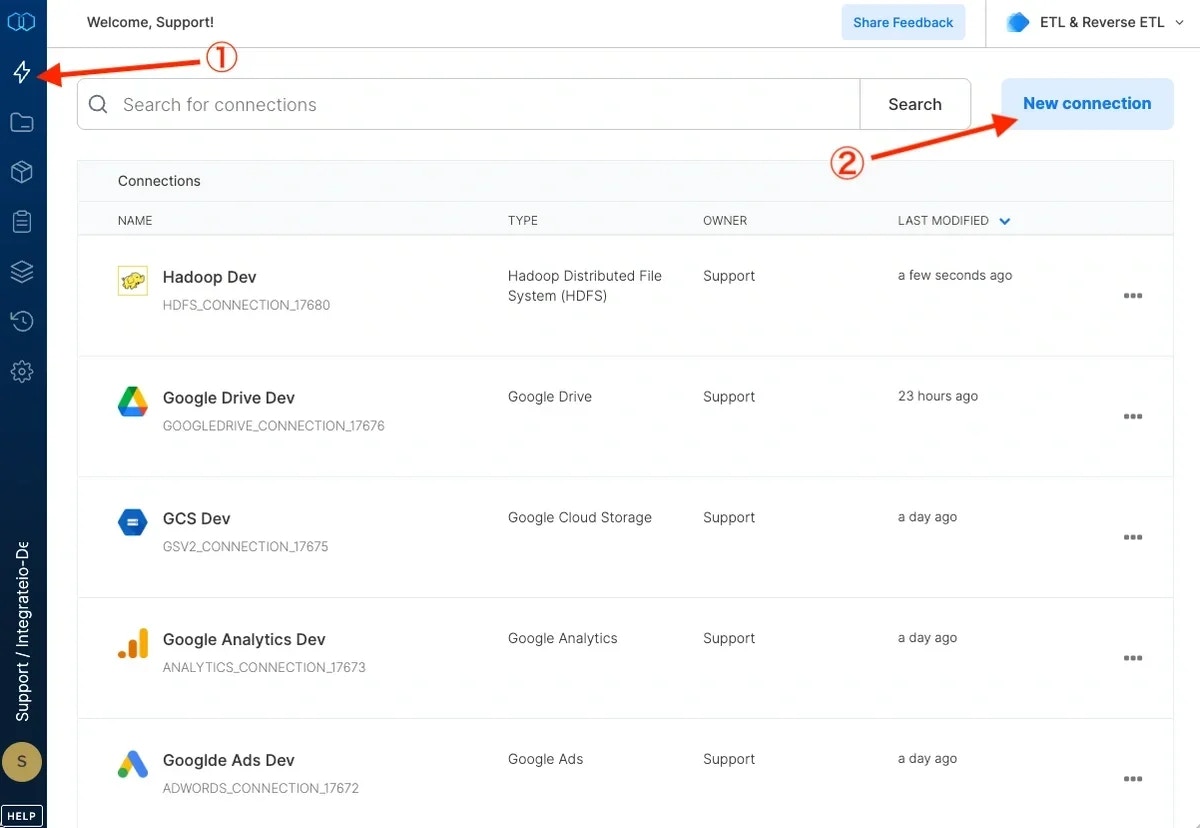
Click the **Connections** icon (lightning bolt) on the top left menu.
To create a connection, click **New connection**.
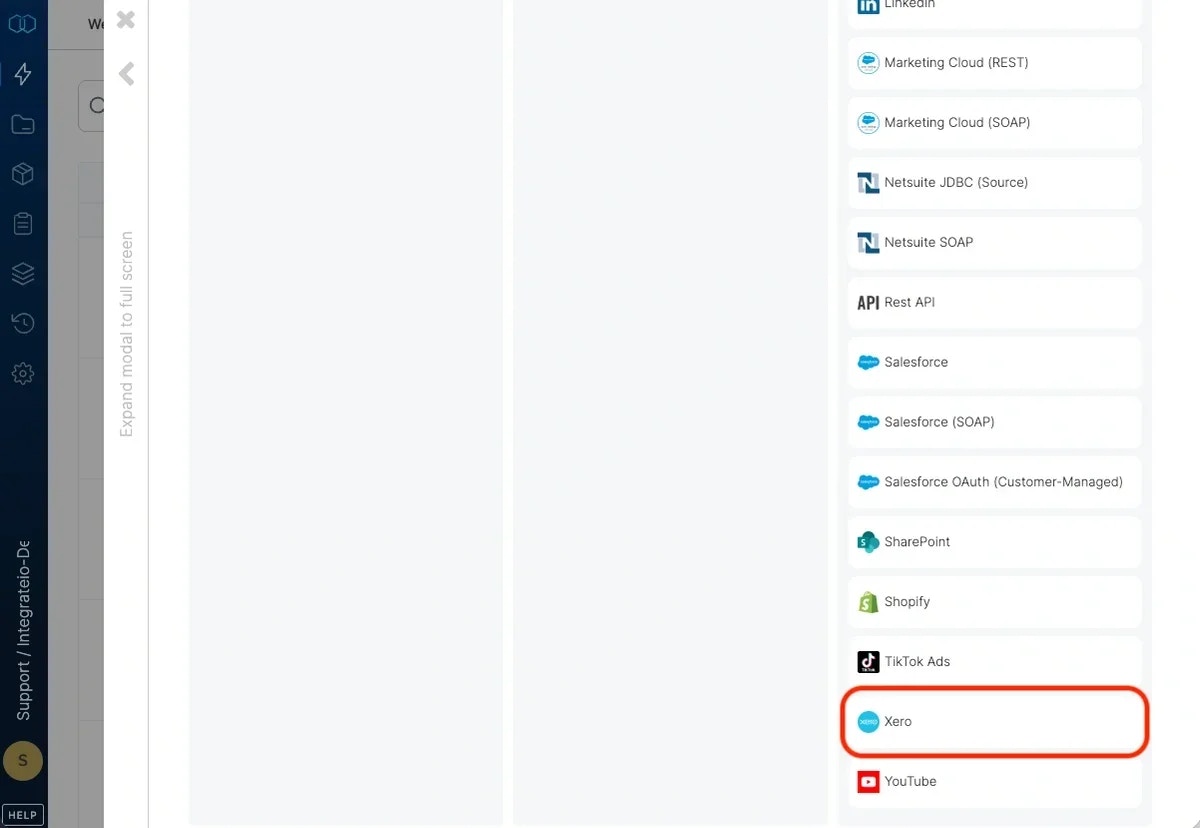
 Select Xero.
 Click **Authenticate.** (If required, sign in to Xero)
Click **Connect** to authorize Integrate.io ETL access to your Xero account.
In the new Xero connection window, name the connection and click **Create Xero connection.**
## To modify Xero connections in Integrate.io ETL
Click the **Connections** icon (lightning bolt) on the top left menu.
Click a connection to re-connect if your password has changed or the token has expired.
To delete a Xero connection, click the three vertical dots on the far right of the connection listing and select the Delete connection option.
## To build a data pipeline to read Xero account data in Integrate.io ETL
Click **Authenticate.** (If required, sign in to Xero)
Click **Connect** to authorize Integrate.io ETL access to your Xero account.
In the new Xero connection window, name the connection and click **Create Xero connection.**
## To modify Xero connections in Integrate.io ETL
Click the **Connections** icon (lightning bolt) on the top left menu.
Click a connection to re-connect if your password has changed or the token has expired.
To delete a Xero connection, click the three vertical dots on the far right of the connection listing and select the Delete connection option.
## To build a data pipeline to read Xero account data in Integrate.io ETL
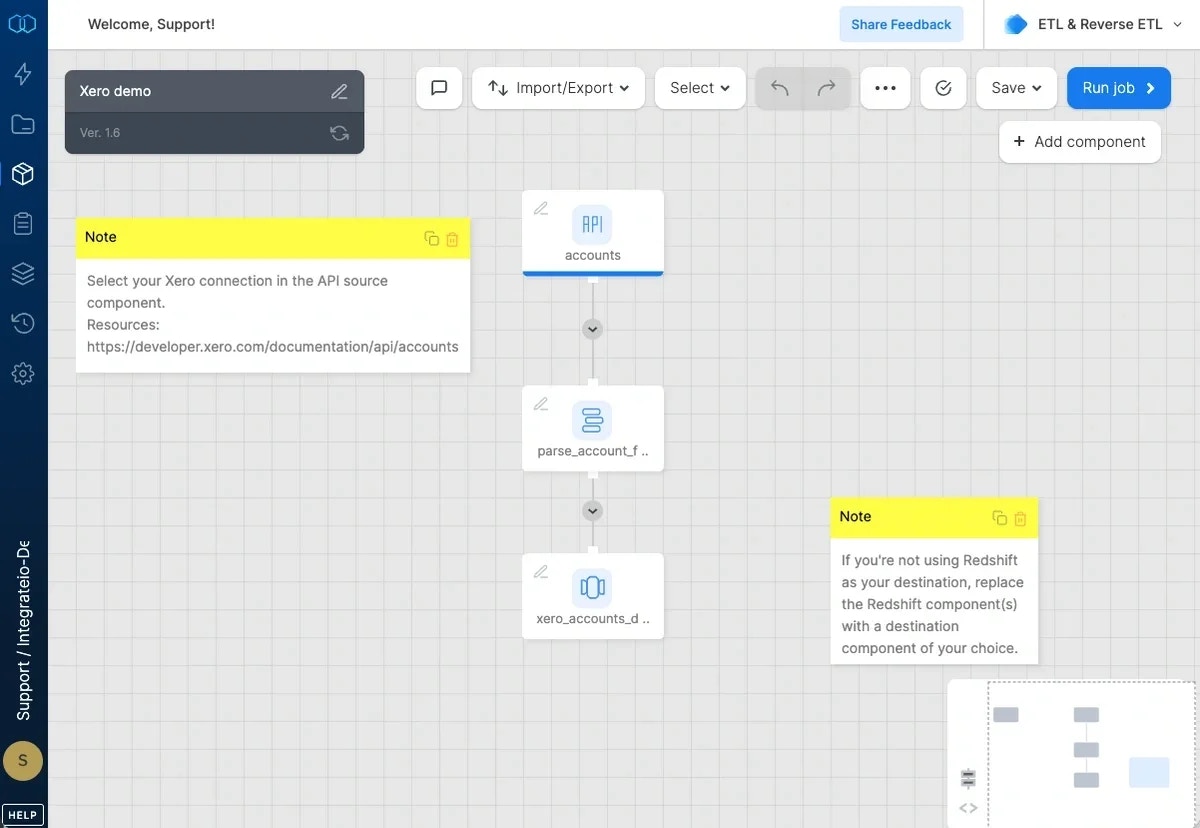 ## REST API Component: accounts
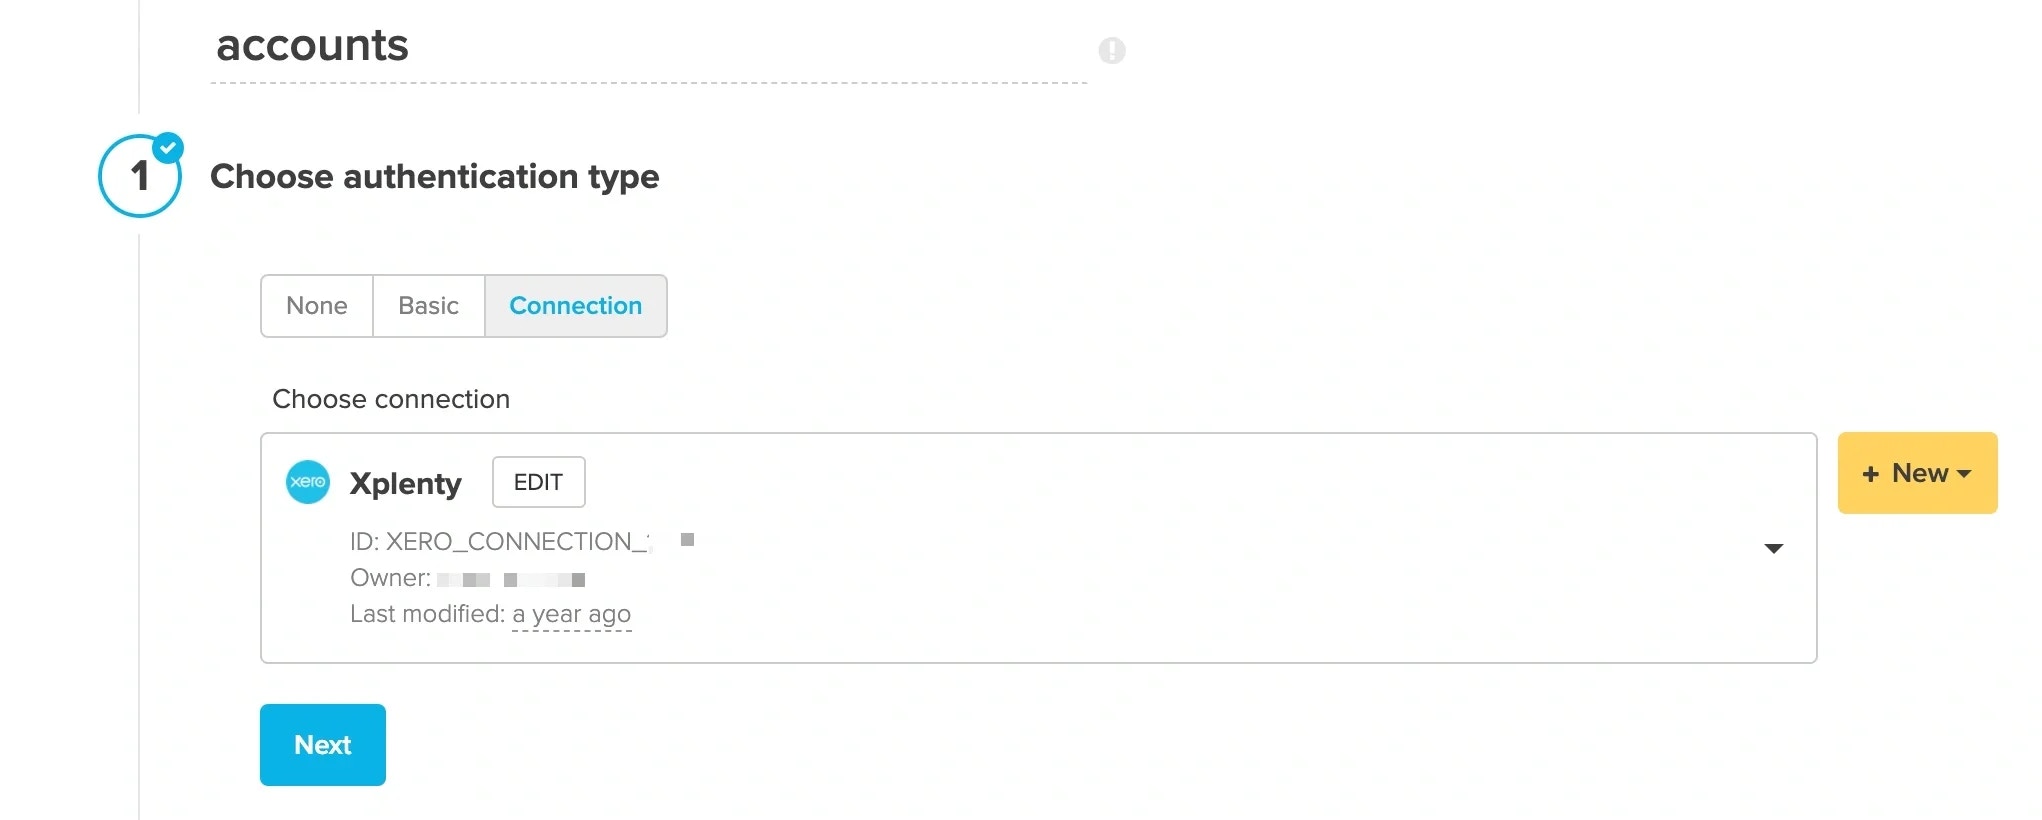
* **Authentication** - Click **Connection** and then select your Xero connection. If you haven't created your Xero connection yet, click **+ New** and follow the instructions found above.
## REST API Component: accounts
* **Authentication** - Click **Connection** and then select your Xero connection. If you haven't created your Xero connection yet, click **+ New** and follow the instructions found above.
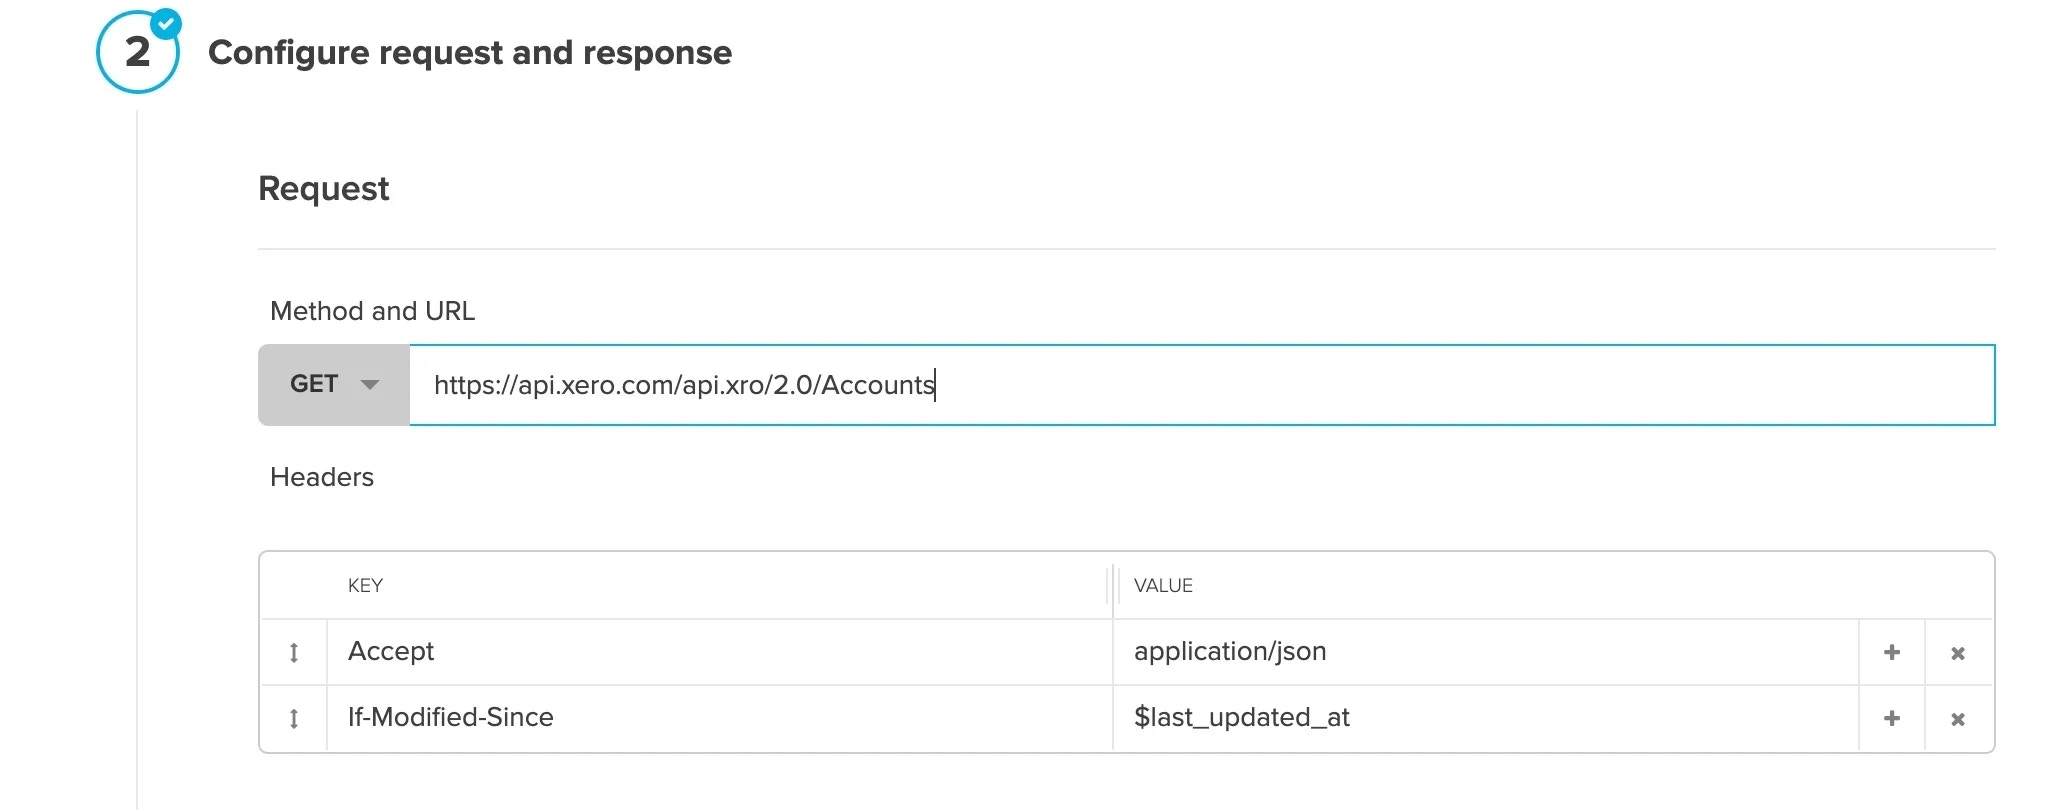
 * **URL** - Enter the URL for the Accounts endpoint of the Xero API: **`https://api.xero.com/api.xro/2.0/Accounts`**. Make sure the method is set to **GET.** Click **Add** beneath **Headers** twice to add the following two headers: Accept: application/json, If-Modified-Since: `$last_updated_at`. Replace the variable `$last_updated_at` with a timestamp for the minimum age of the updated data.
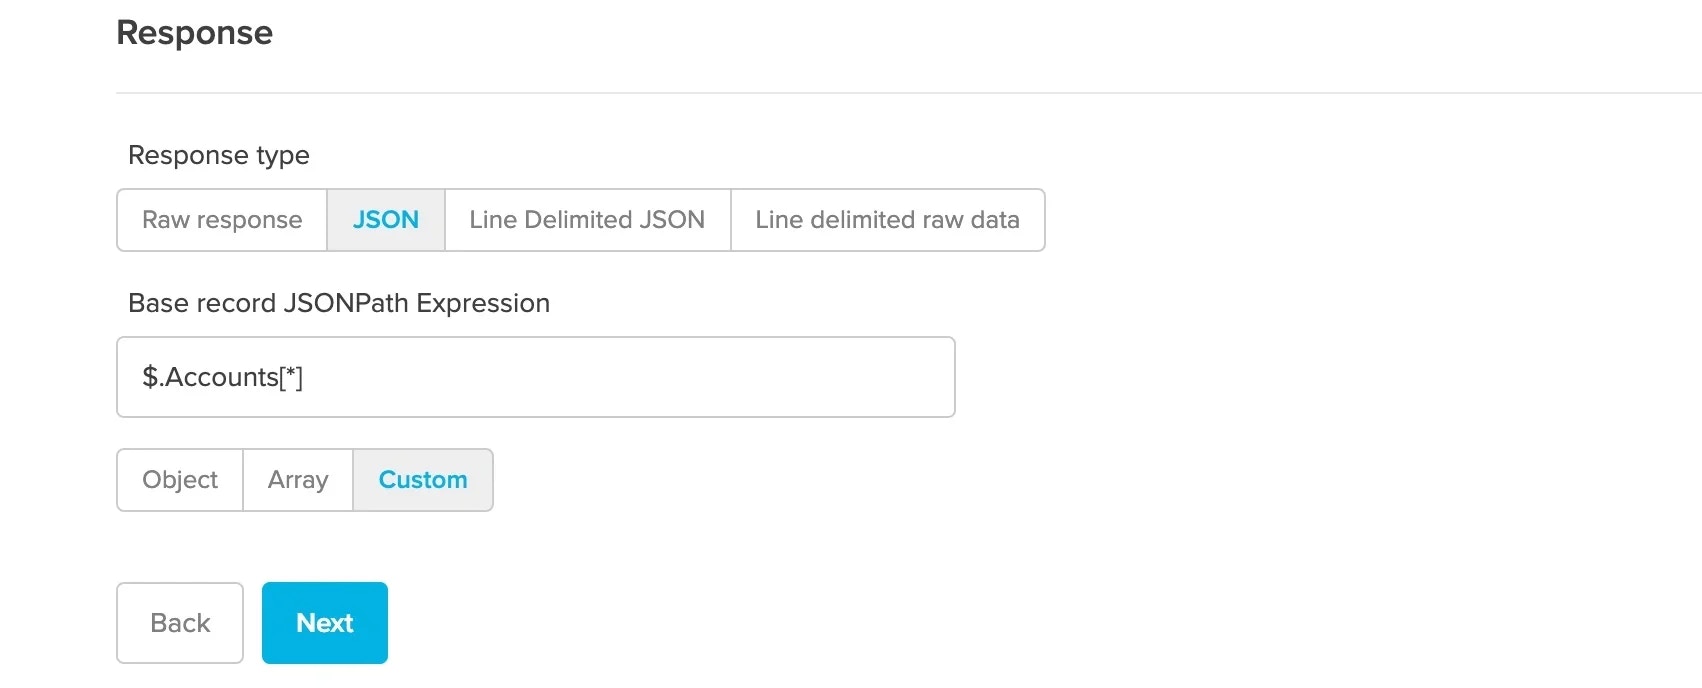
 * **Response** - Make sure the **JSON** response type is selected. Edit the **Base record JSON Path Expression** field like this: `$.Accounts[*]`.
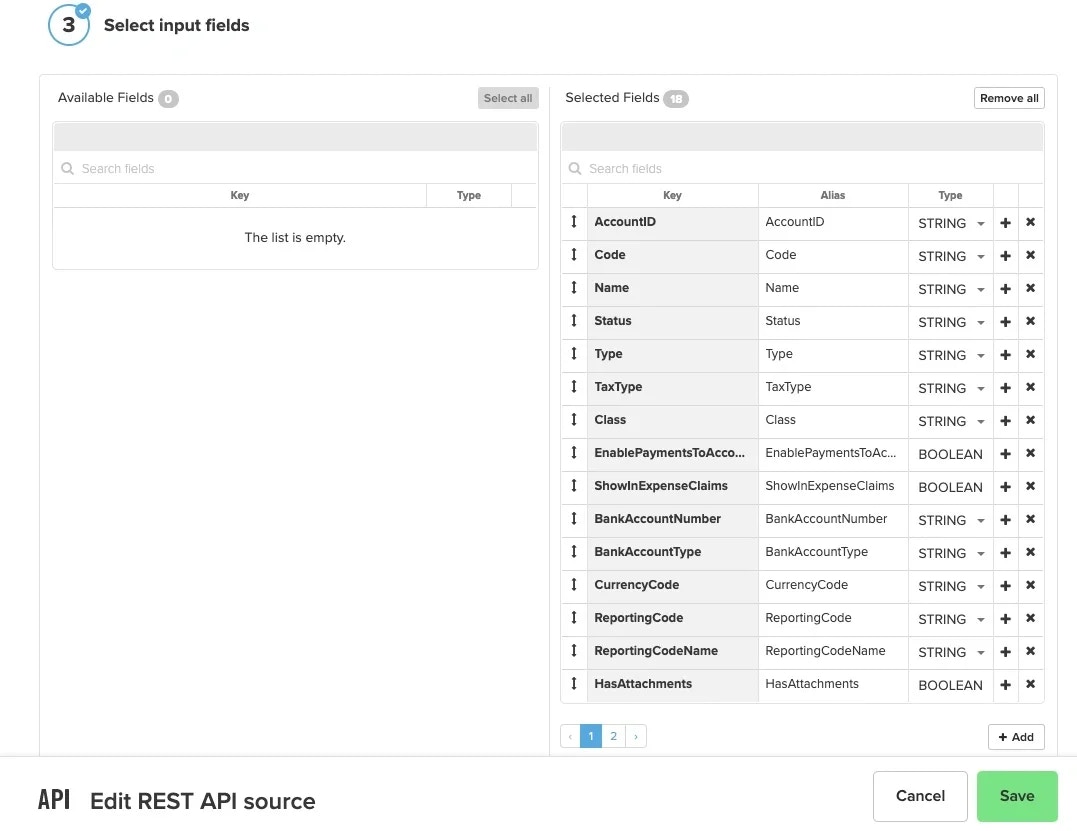
 * **Input fields** - Click **Select all** to move all the Available fields over to the Selected fields or pick and choose which fields you would like by clicking on the + icon next to the field name in the Available Fields column. Then click **Save**.
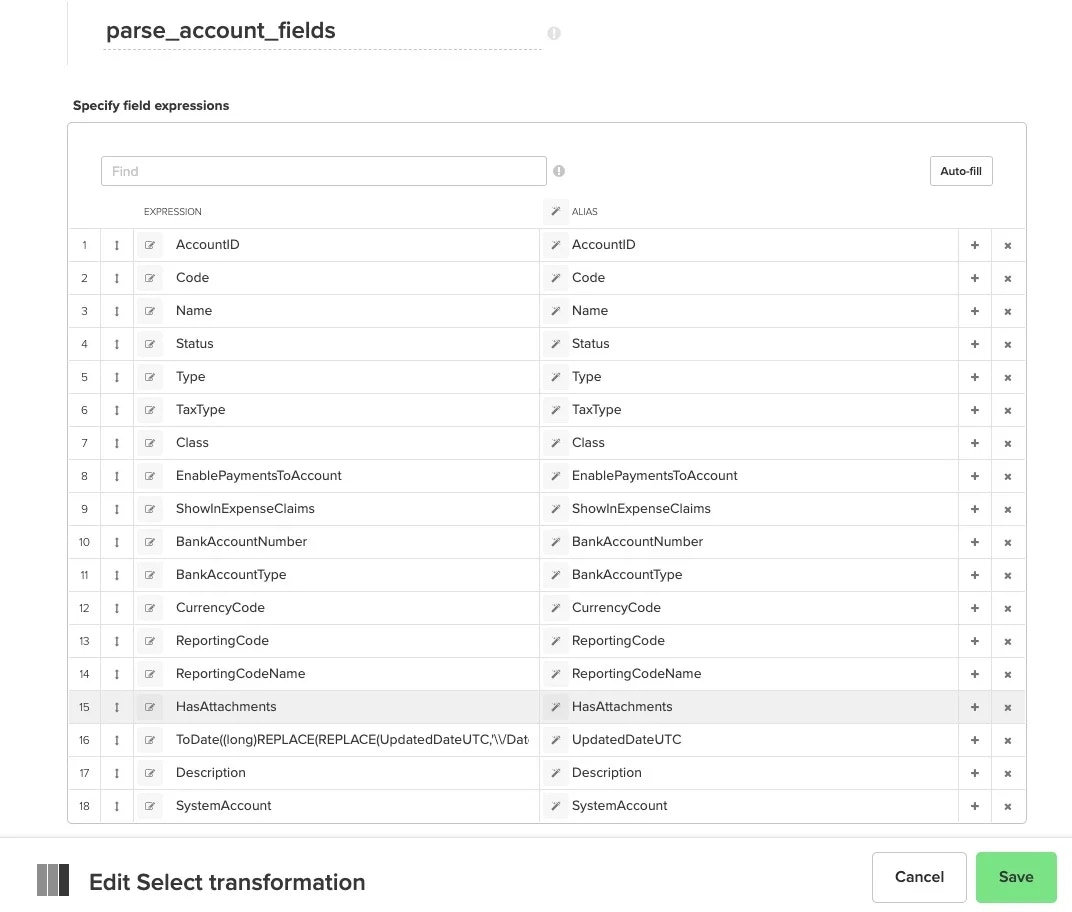
 ## Select Component: parse\_account\_fields
* Click **Autofill** to bring in all the fields from the source component. Convert the UpdatedDateUTC field into a datetime data type using these functions: **ToDate((long)REPLACE(REPLACE(UpdatedDateUTC,'\\/Date\\(',''),'\\+.\*','')).** Click **Save.**
## Select Component: parse\_account\_fields
* Click **Autofill** to bring in all the fields from the source component. Convert the UpdatedDateUTC field into a datetime data type using these functions: **ToDate((long)REPLACE(REPLACE(UpdatedDateUTC,'\\/Date\\(',''),'\\+.\*','')).** Click **Save.**
 ## Destination Component: xero\_accounts\_destination
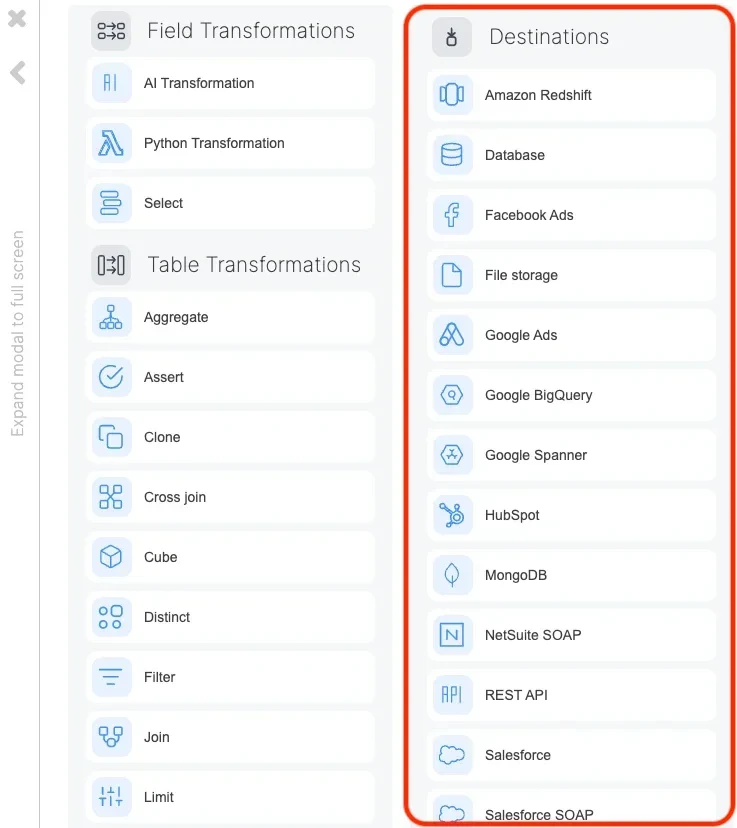
* The template shows a Redshift destination component; however, if you'd prefer to use a different destination, delete the Redshift component and select a destination component of your choice.
## Destination Component: xero\_accounts\_destination
* The template shows a Redshift destination component; however, if you'd prefer to use a different destination, delete the Redshift component and select a destination component of your choice.
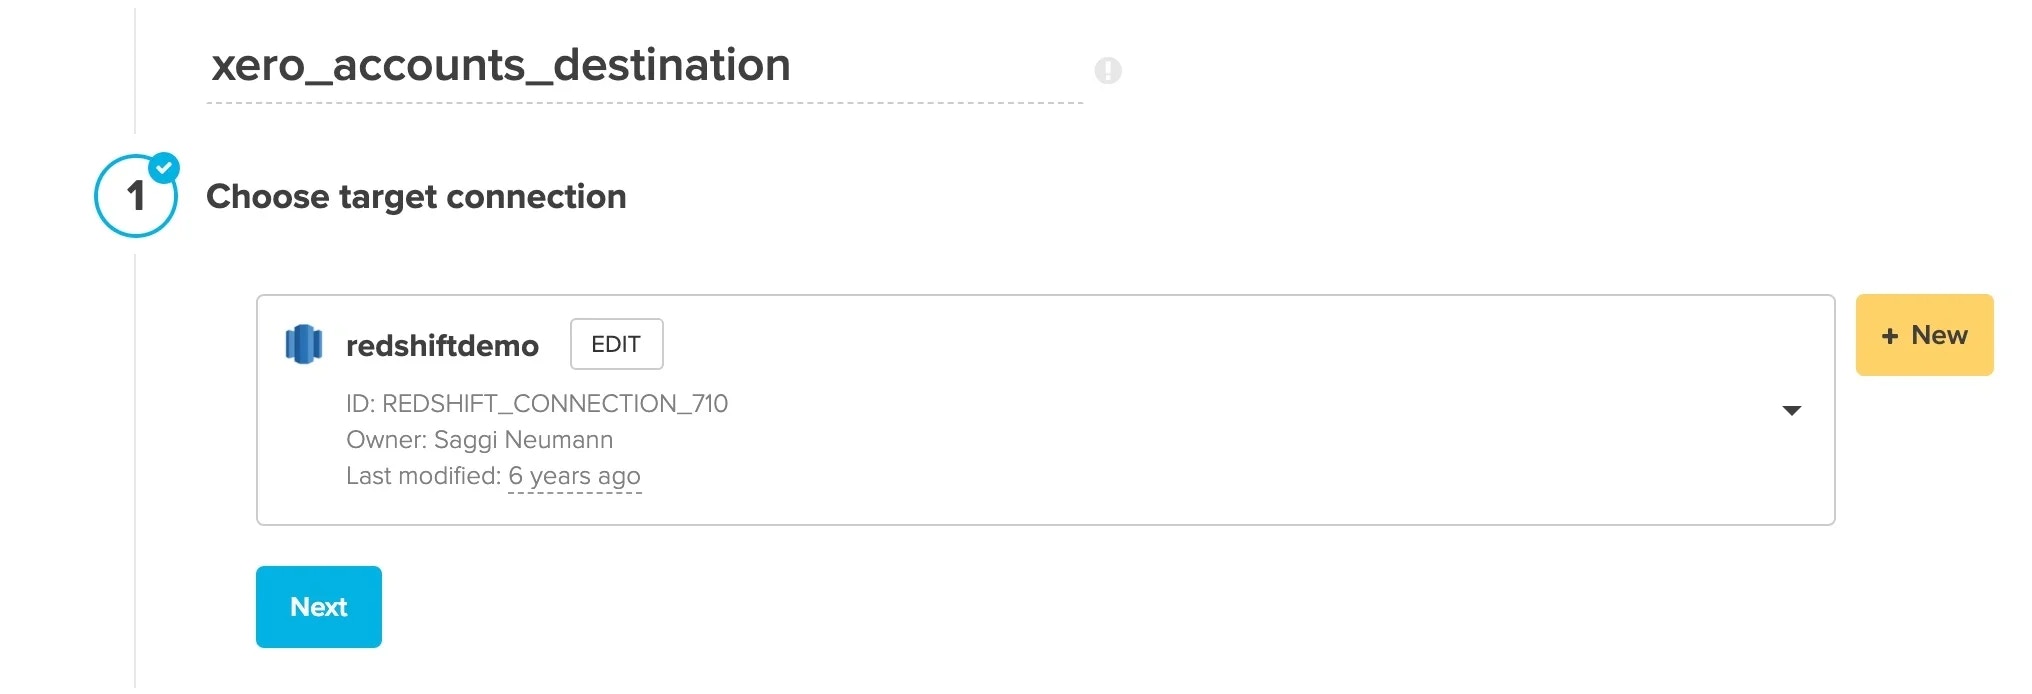
 * **Choose target connection** - Select your target connection. If you haven't created your connection yet, click **+ New.**
 * **Destination properties** - Fill in the values for target schema and table, select an operation type, pre or post-action SQL, and advanced options.
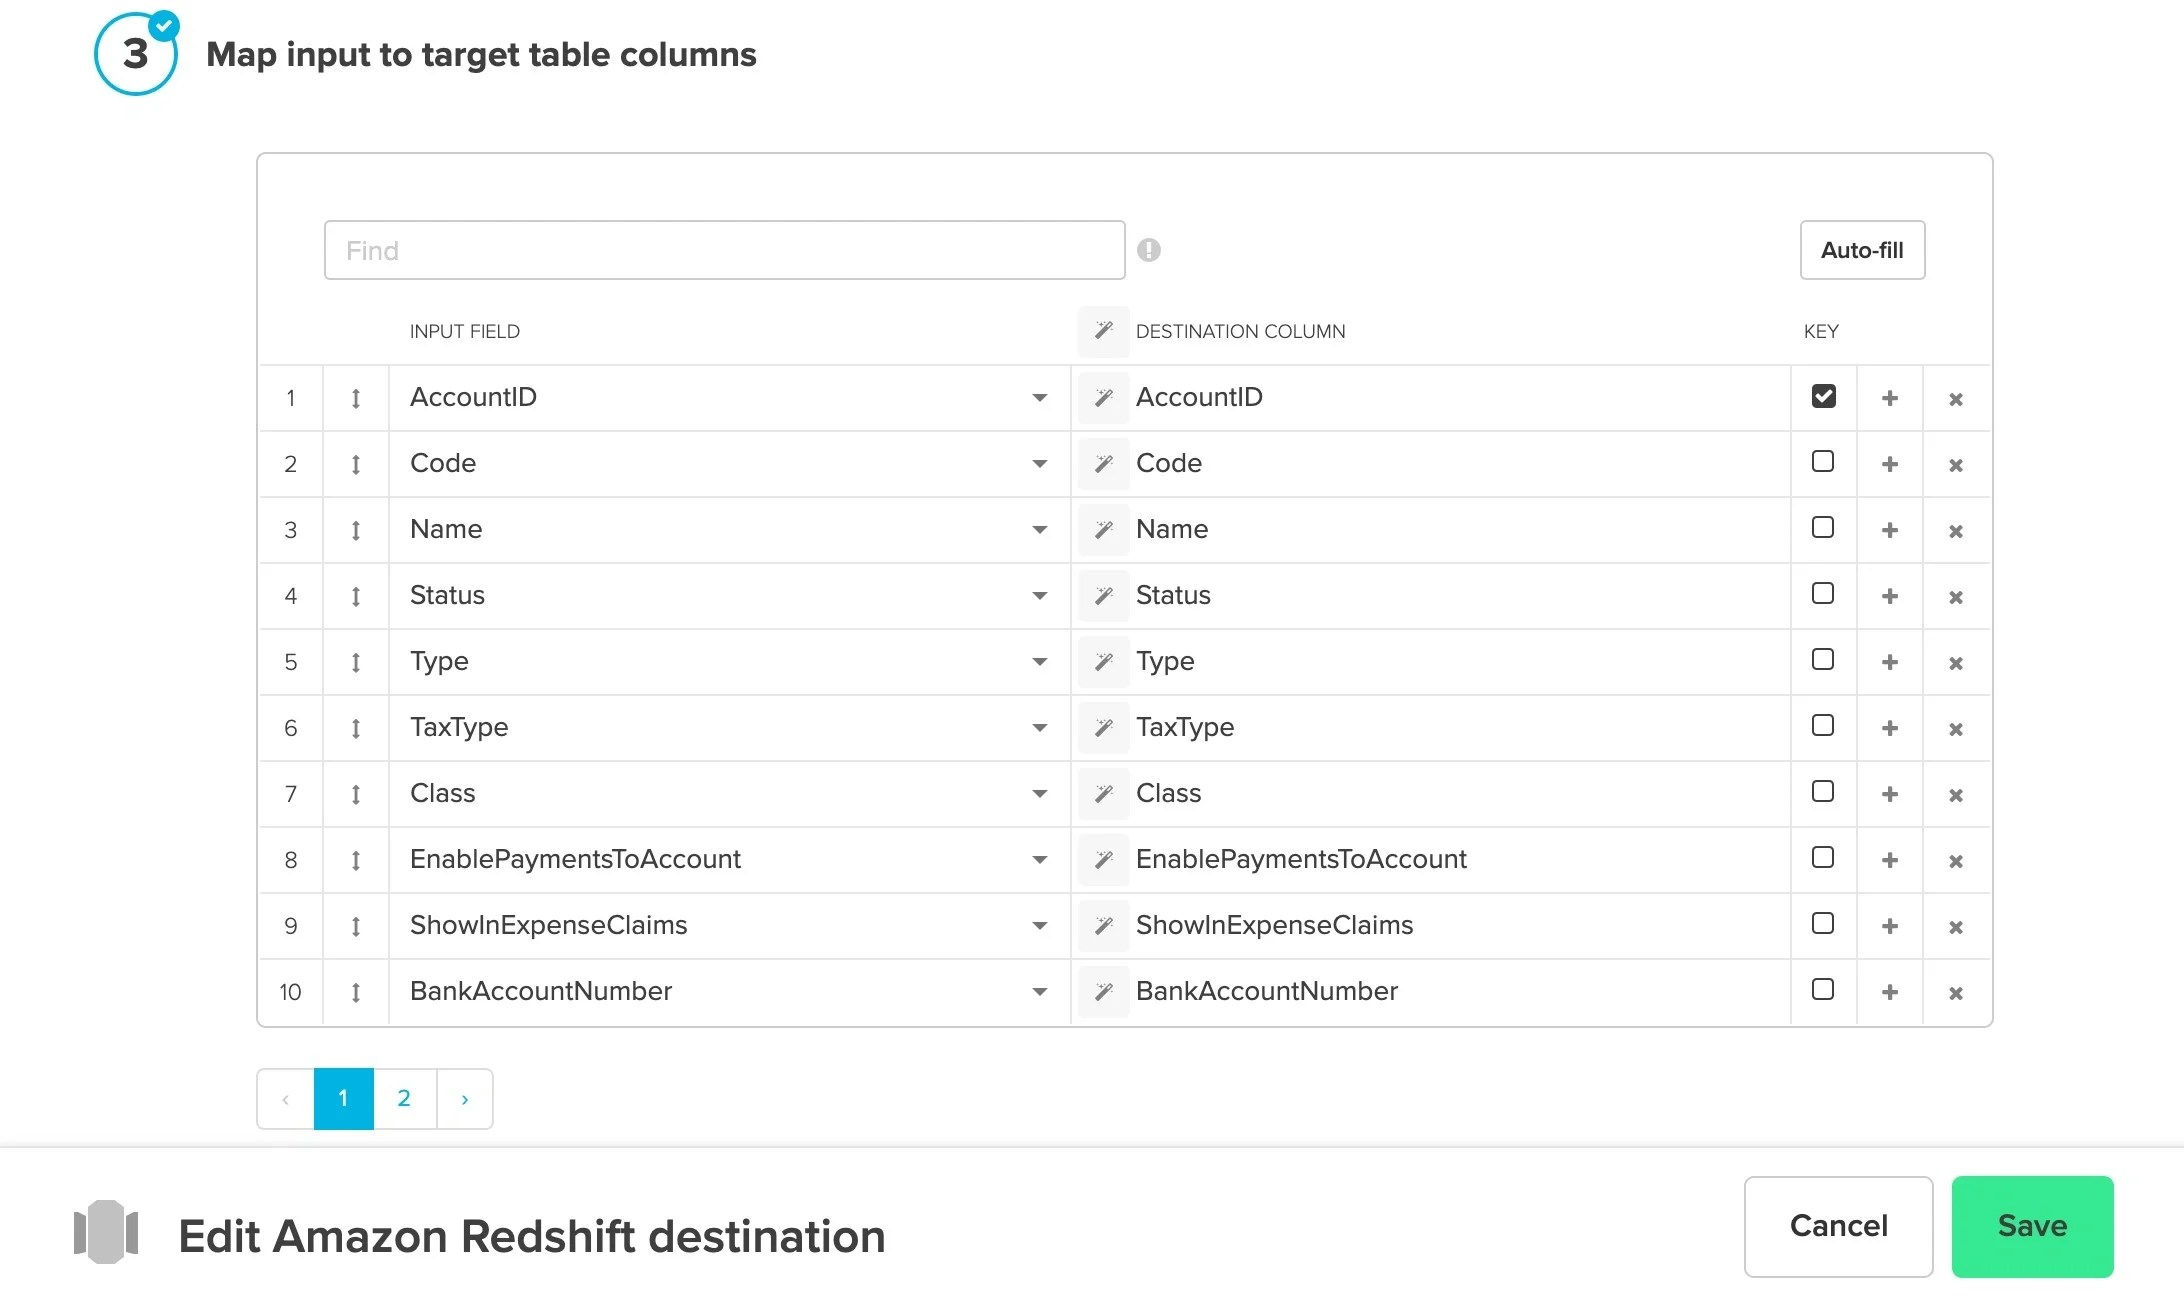
* **Schema mapping** - Click **Auto-fill** to bring in all of the fields. If you've selected a Merge operation type, click the **Key** box next to the merge key field(s). Click **Save.**
* **Destination properties** - Fill in the values for target schema and table, select an operation type, pre or post-action SQL, and advanced options.
* **Schema mapping** - Click **Auto-fill** to bring in all of the fields. If you've selected a Merge operation type, click the **Key** box next to the merge key field(s). Click **Save.**