> ## Documentation Index
> Fetch the complete documentation index at: https://www.integrate.io/docs/llms.txt
> Use this file to discover all available pages before exploring further.
# ETL: Google Ads Source
> Configure the Google Ads source component to read advertising report data from your Google Ads account in Integrate.io ETL data pipelines.
## Connection Setup
## To create a Google Ads connection in Integrate.io ETL
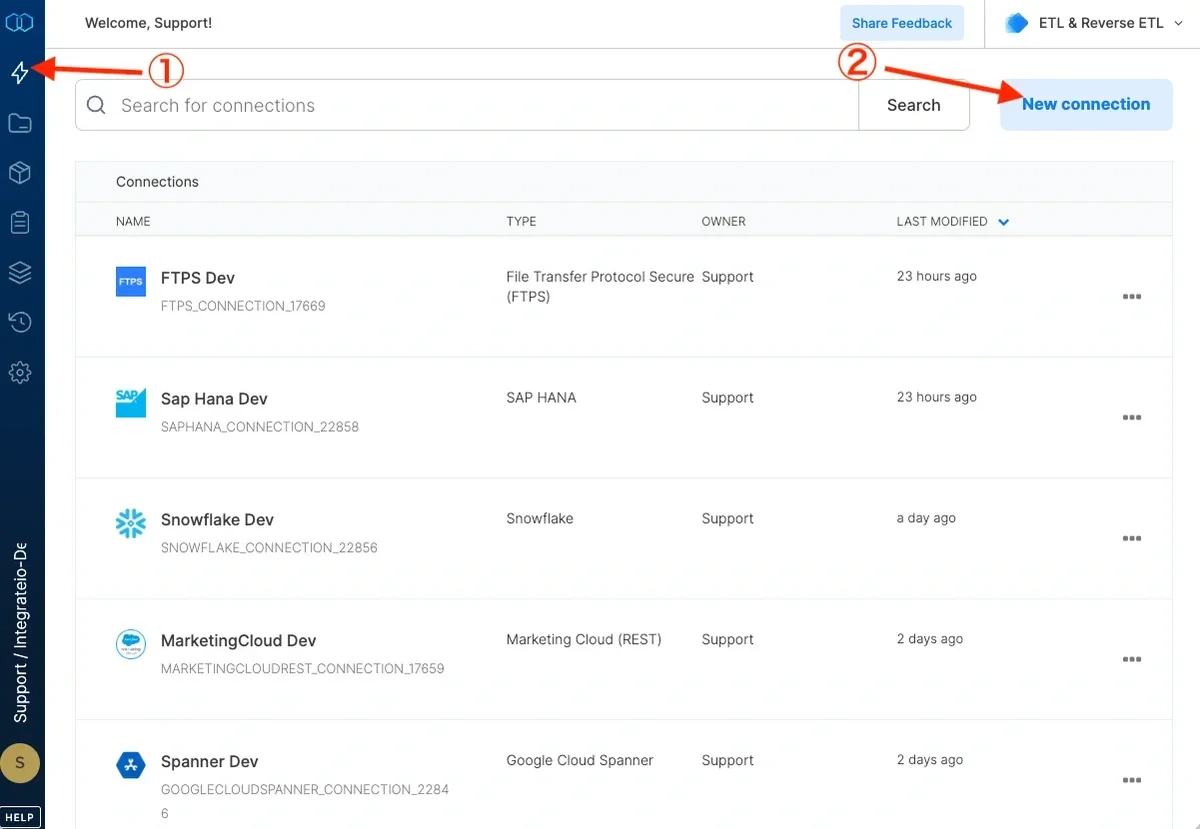
Click the **Connections** icon (lightning bolt) on the top left menu.
To create a connection, click **New** connection.
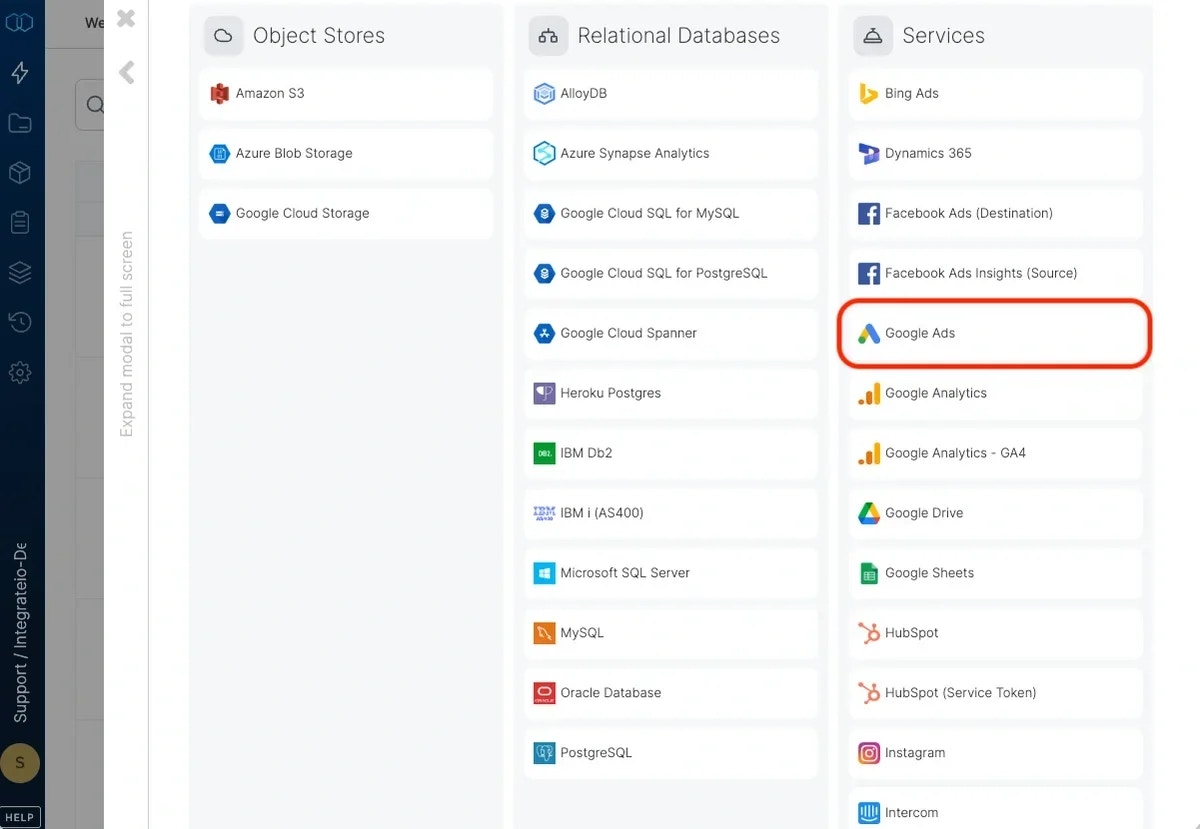
 Select Google Ads.
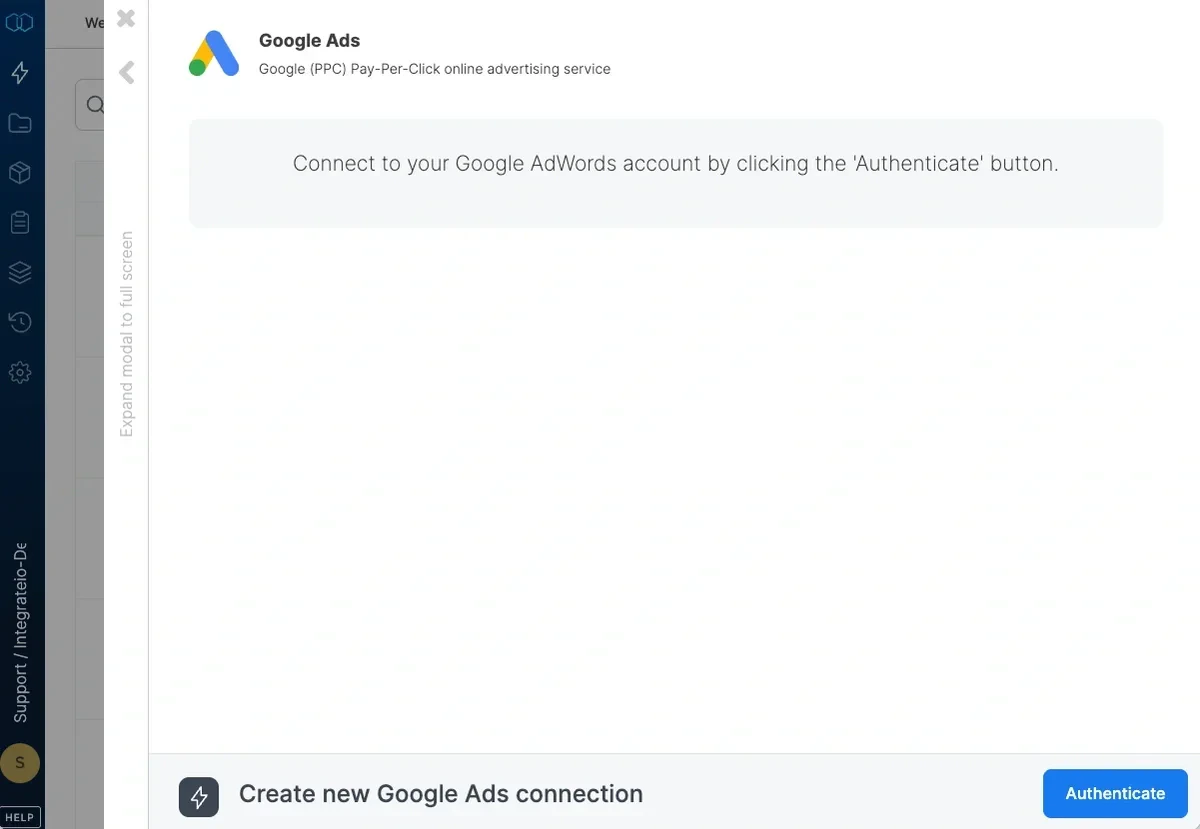
 Click **Authenticate**.
 In the Google account window, choose an existing Google account or click **Add account** to create a new Google account.
In the next Google window click **Accept** to authorize Integrate.io ETL access.
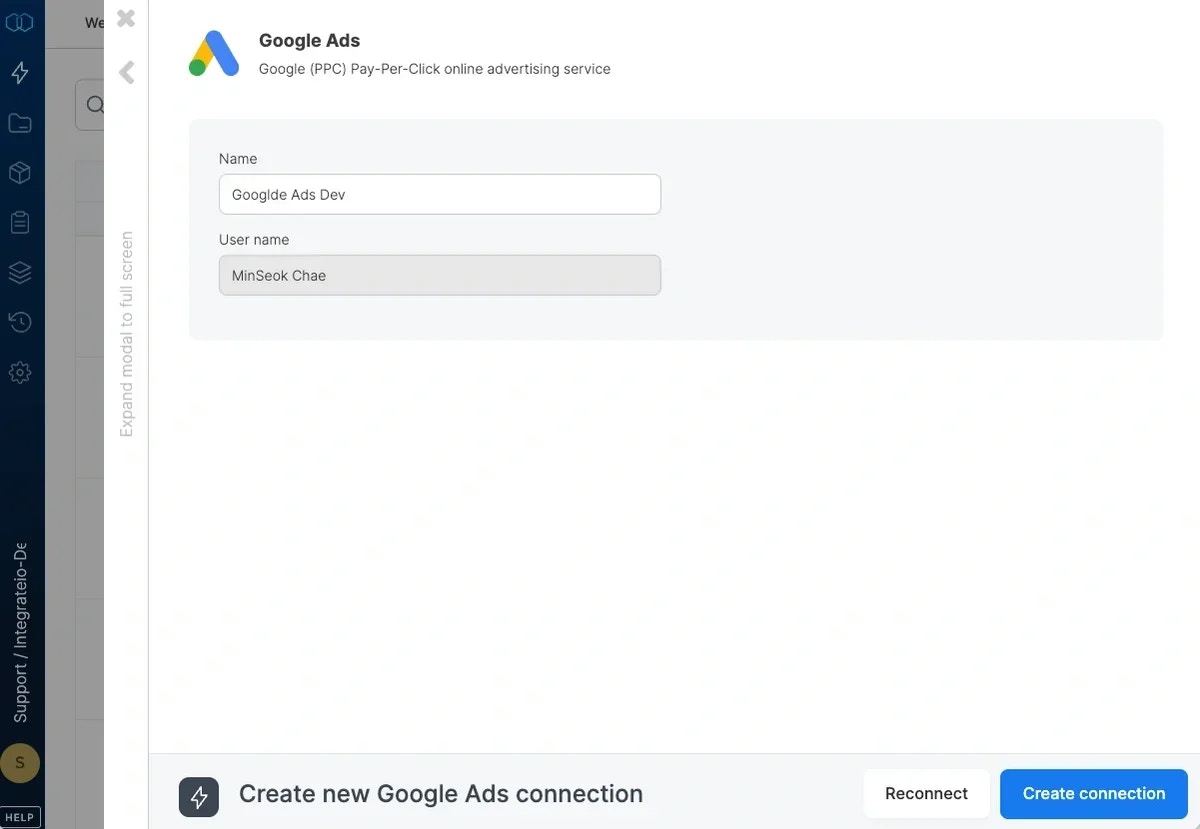
In the new Google Ads connection window, name the connection and click **Create connection.**
In the Google account window, choose an existing Google account or click **Add account** to create a new Google account.
In the next Google window click **Accept** to authorize Integrate.io ETL access.
In the new Google Ads connection window, name the connection and click **Create connection.**
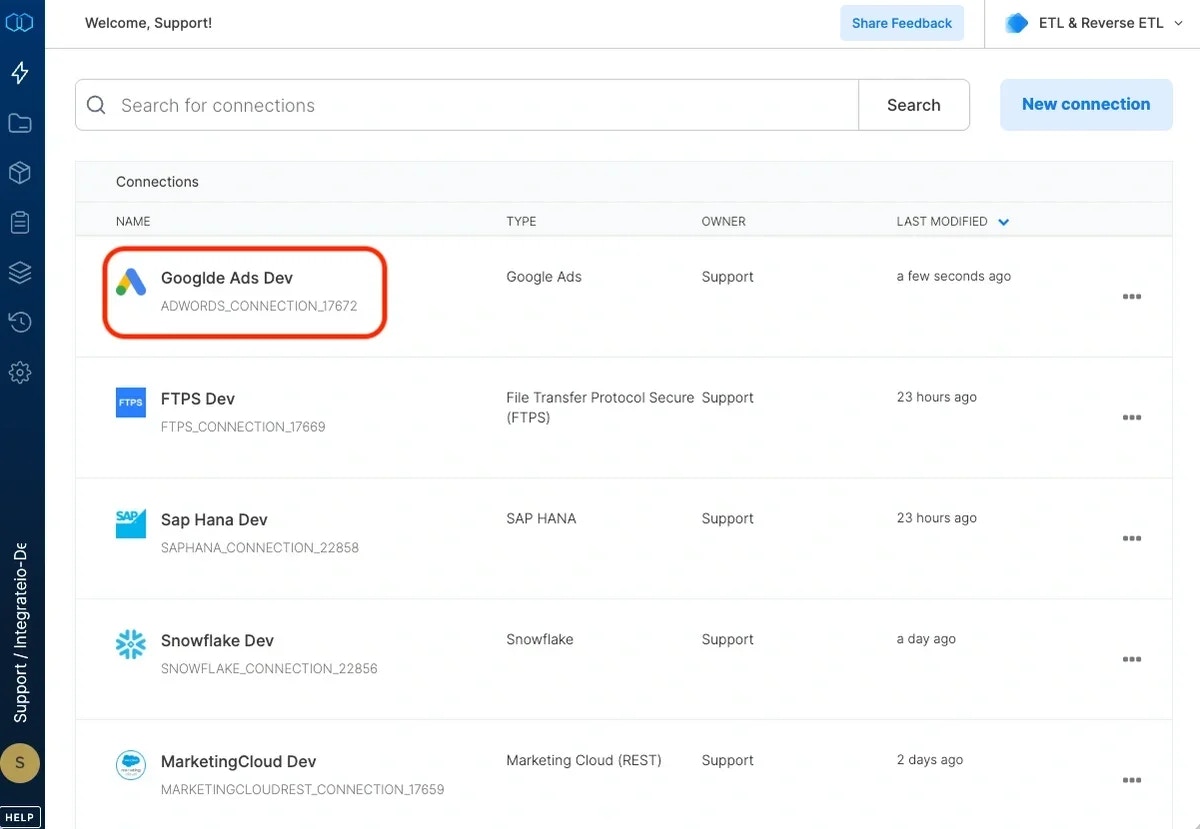 ## To modify a Google Ads connection in Integrate.io ETL
Click the Connections icon (lightning bolt) on the top left menu.
Click a connection to open and modify it. Make any necessary changes, then click Reconnect, and Save changes. To exit the Google Ads connection window without changes, click Back to connections (grey tab on the left side) on the Google Ads connection window.
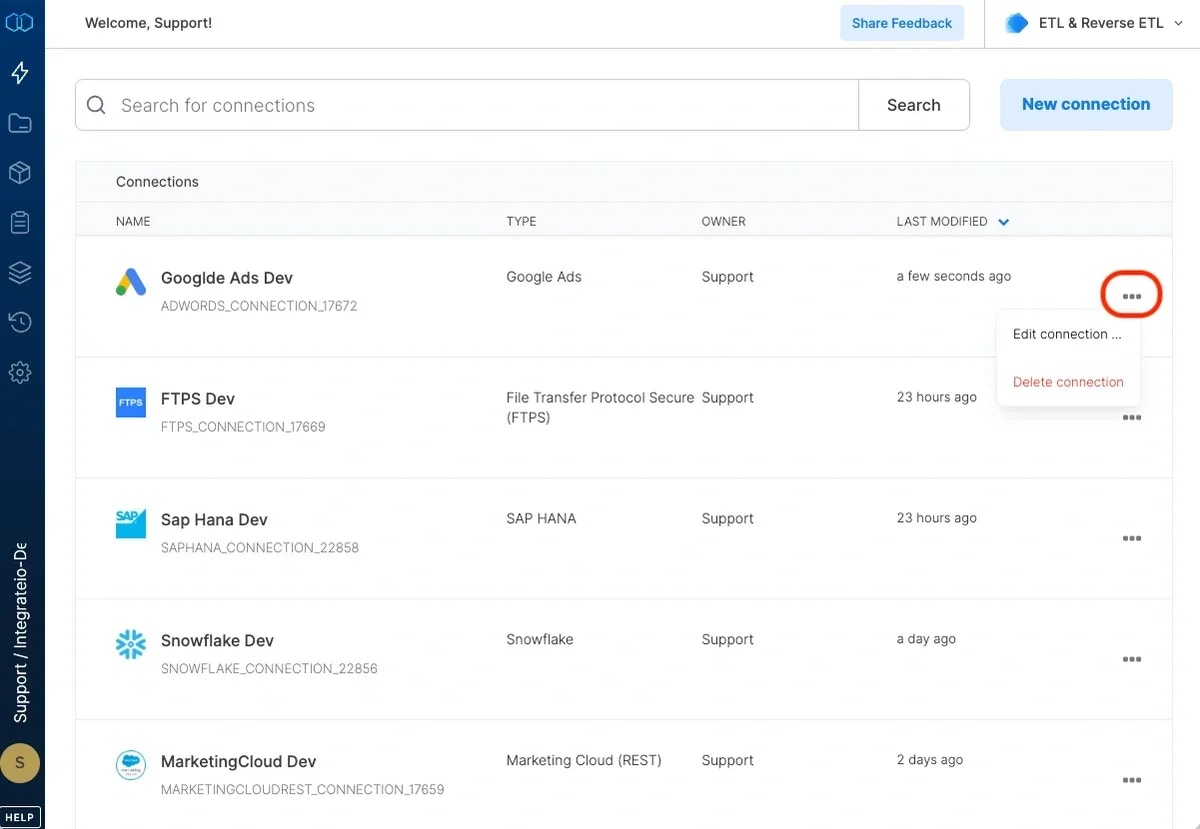
To delete a Google Ads connection, click the three vertical dots on the far right of the connection listing and select the Delete connection option.
## To modify a Google Ads connection in Integrate.io ETL
Click the Connections icon (lightning bolt) on the top left menu.
Click a connection to open and modify it. Make any necessary changes, then click Reconnect, and Save changes. To exit the Google Ads connection window without changes, click Back to connections (grey tab on the left side) on the Google Ads connection window.
To delete a Google Ads connection, click the three vertical dots on the far right of the connection listing and select the Delete connection option.
 ***
**Note:**
Ad blockers may block html and javascript elements that mention Ads. We recommend that you disable your ad blocker or make an exception for Integrate.io ETL.
***
**Note:**
Ad blockers may block html and javascript elements that mention Ads. We recommend that you disable your ad blocker or make an exception for Integrate.io ETL.
 ## Connection
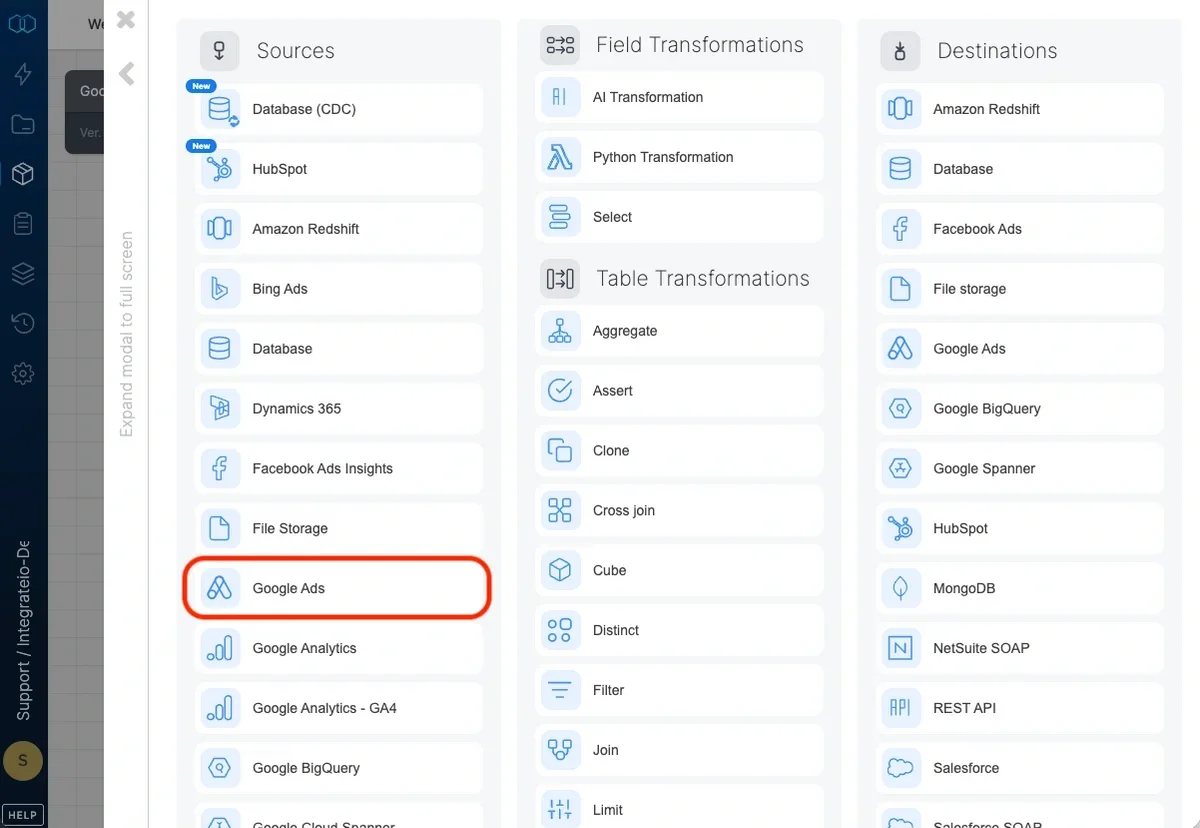
Select an existing Google Ads connection or create a new one.
## Source Properties
## Connection
Select an existing Google Ads connection or create a new one.
## Source Properties
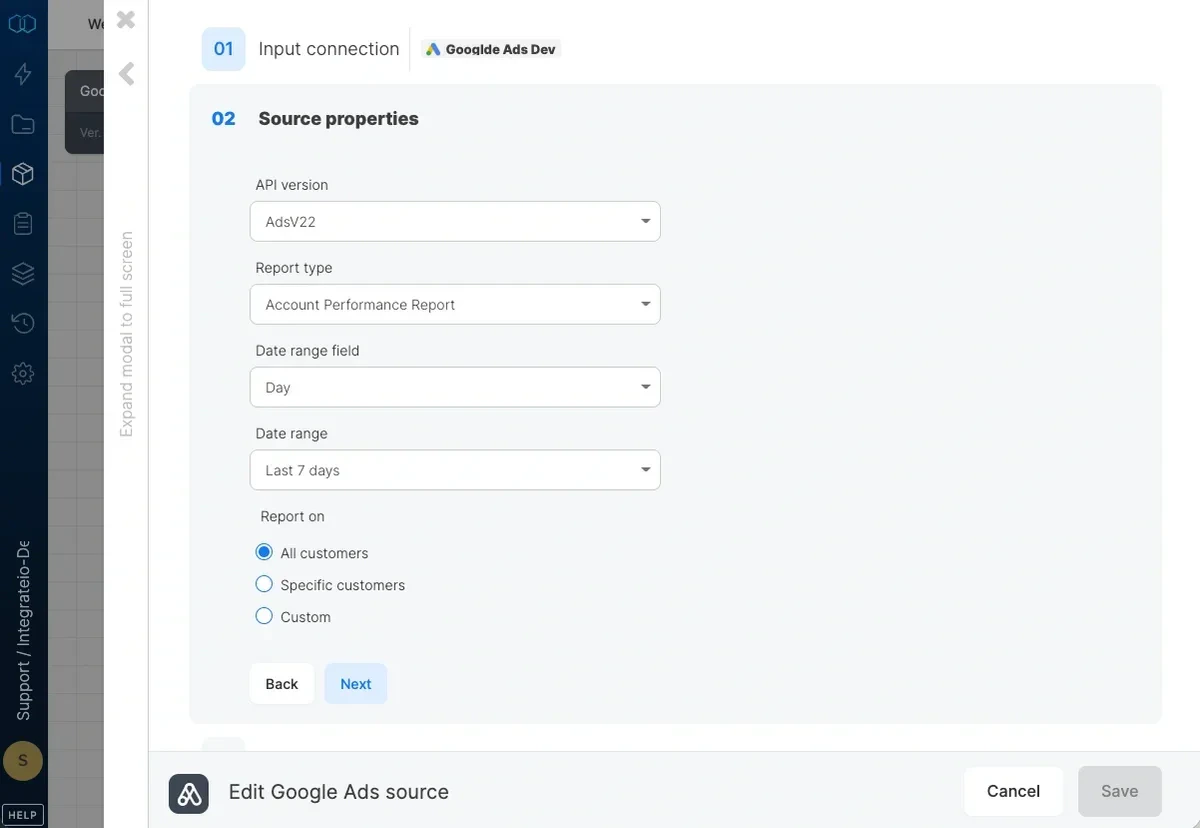 * **API Version** - Integrate.io ETL will use the selected Ads API version when running the job. Google releases a new API version every few months and [sunsets older versions of the API](https://developers.google.com/google-ads/api/docs/sunset-dates?hl=en). You should check and update the API versions periodically.
* **Report type** - Select a report type from the dropdown list of reports. See [this article](https://developers.google.com/google-ads/api/docs/migration/mapping?hl=en) to map reports to Google AdWords UI. **Note: For structure reports, select "All time" in date range. We are using report types from the old version of Google Adwords.**
* **Date range** - Select a date range from the dropdown list of ranges. If you select `custom date range...`, you will be prompted to enter From date and To date. Click either inputs and select the dates from the calendar. You can also use variables as values for the custom date range in the format `yyyyMMdd`.
* **customer ids** - Leave empty to read data for all Ads customer account ids accessible to the connection or use a comma separated list of Ads customer account ids. The account ids appear in the top right corner of your Ads page or are managed by Ads Manager (MCC). If you provide an MCC account's customer id, the report will be executed for all the Ads accounts it has access to. Customer ids appear in the format nnn-nnn-nnnn (e.g. 123-456-7890)
## Source Schema
* **API Version** - Integrate.io ETL will use the selected Ads API version when running the job. Google releases a new API version every few months and [sunsets older versions of the API](https://developers.google.com/google-ads/api/docs/sunset-dates?hl=en). You should check and update the API versions periodically.
* **Report type** - Select a report type from the dropdown list of reports. See [this article](https://developers.google.com/google-ads/api/docs/migration/mapping?hl=en) to map reports to Google AdWords UI. **Note: For structure reports, select "All time" in date range. We are using report types from the old version of Google Adwords.**
* **Date range** - Select a date range from the dropdown list of ranges. If you select `custom date range...`, you will be prompted to enter From date and To date. Click either inputs and select the dates from the calendar. You can also use variables as values for the custom date range in the format `yyyyMMdd`.
* **customer ids** - Leave empty to read data for all Ads customer account ids accessible to the connection or use a comma separated list of Ads customer account ids. The account ids appear in the top right corner of your Ads page or are managed by Ads Manager (MCC). If you provide an MCC account's customer id, the report will be executed for all the Ads accounts it has access to. Customer ids appear in the format nnn-nnn-nnnn (e.g. 123-456-7890)
## Source Schema
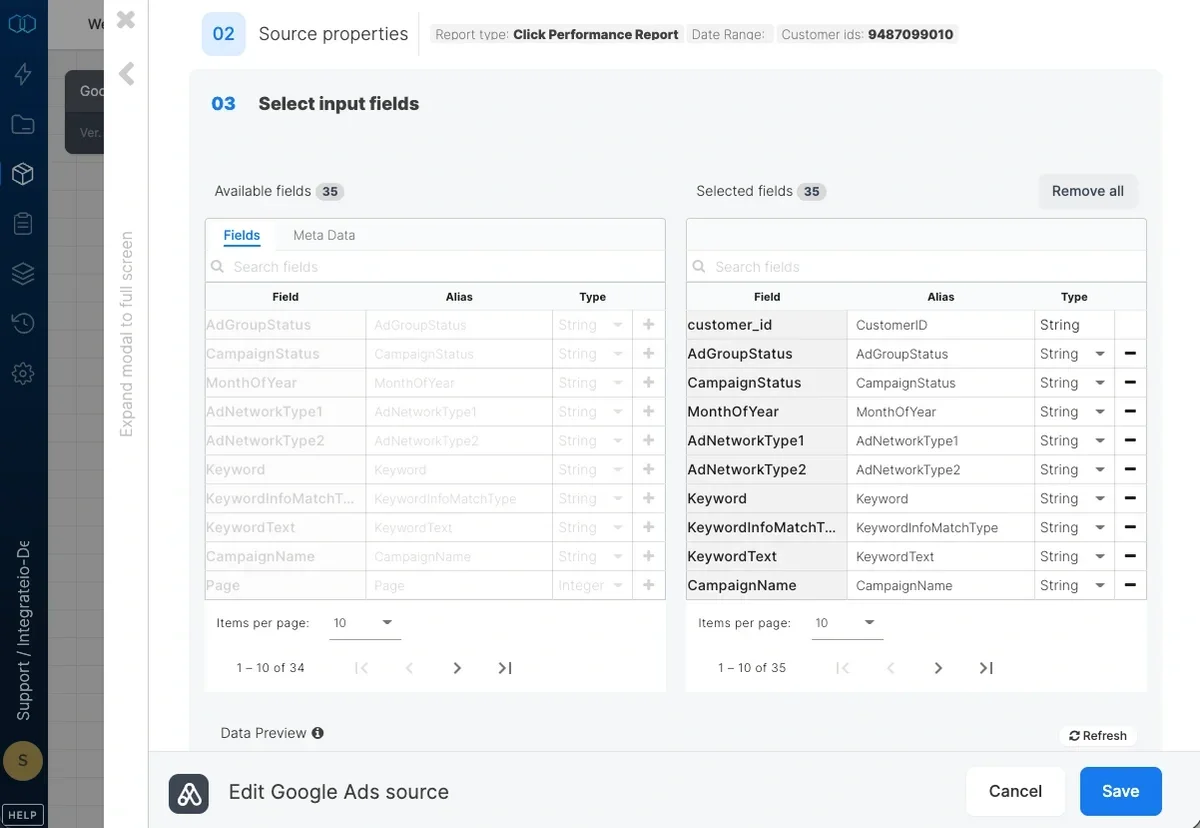 After defining the Ads report, select the fields to use in the source.
**Note:**
Some fields are not compatible with other fields in the same report. Refer [here](https://developers.google.com/google-ads/api/docs/migration/mapping?hl=en) for more information. Please contact us if there are missing fields on the Ads source components
## Related
After defining the Ads report, select the fields to use in the source.
**Note:**
Some fields are not compatible with other fields in the same report. Refer [here](https://developers.google.com/google-ads/api/docs/migration/mapping?hl=en) for more information. Please contact us if there are missing fields on the Ads source components
## Related