

인증(Authentication) 설정
미리 연결 화면에서 만든 Google Sheet 인증을 선택합니다. [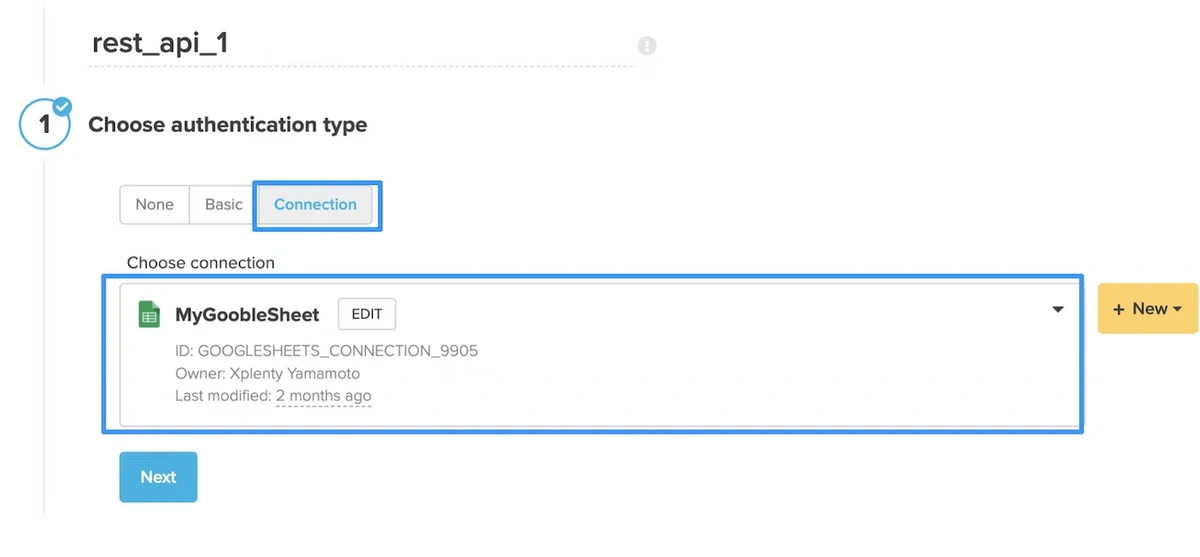
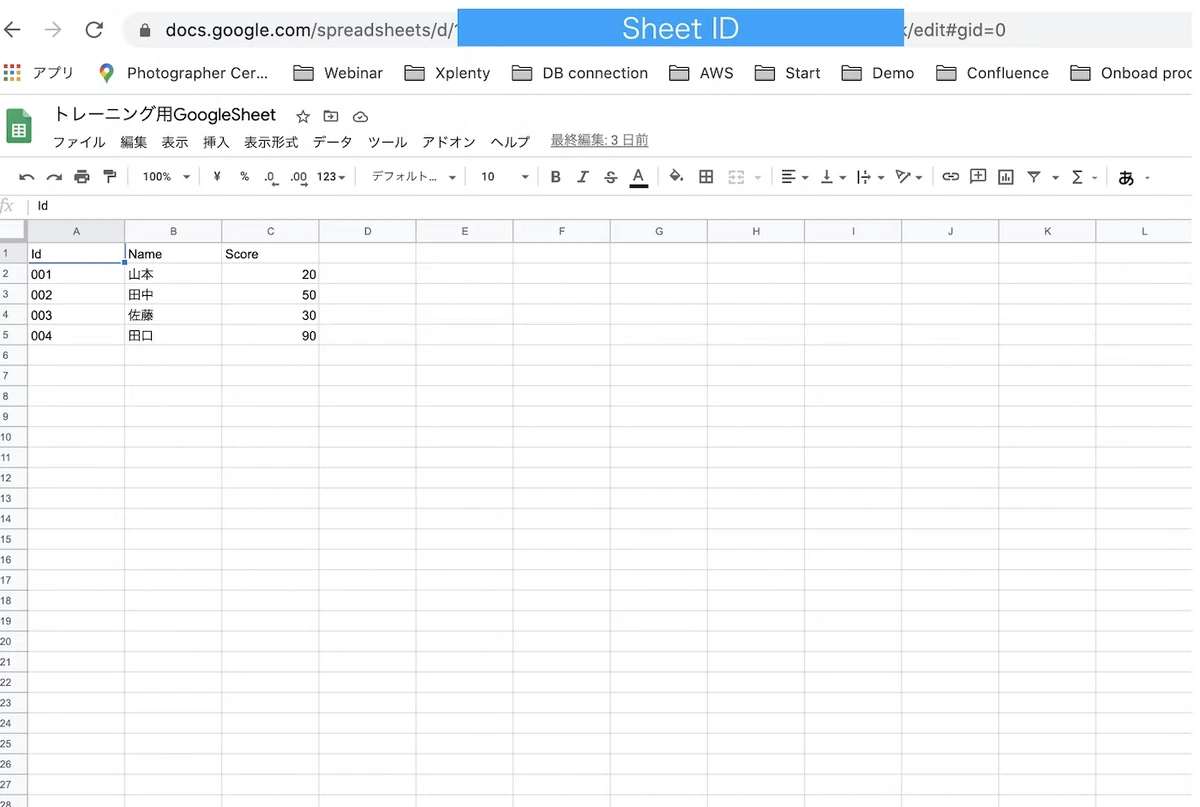
URL 지정 방법
URL:[https://sheets.googleapis.com/v4/spreadsheets/](https://sheets.googleapis.com/v4/spreadsheets/)시트_ID/values:batchGet?ranges=셀_범위&majorDimension=ROWS
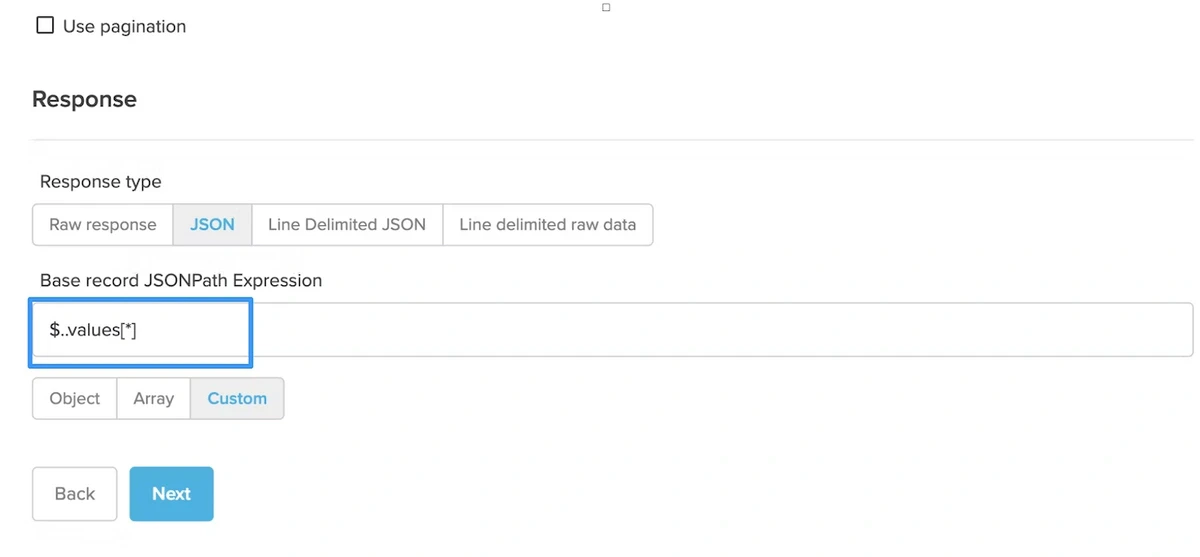
Response 설정
JSONPath Expression에$..values[*]를 입력
[
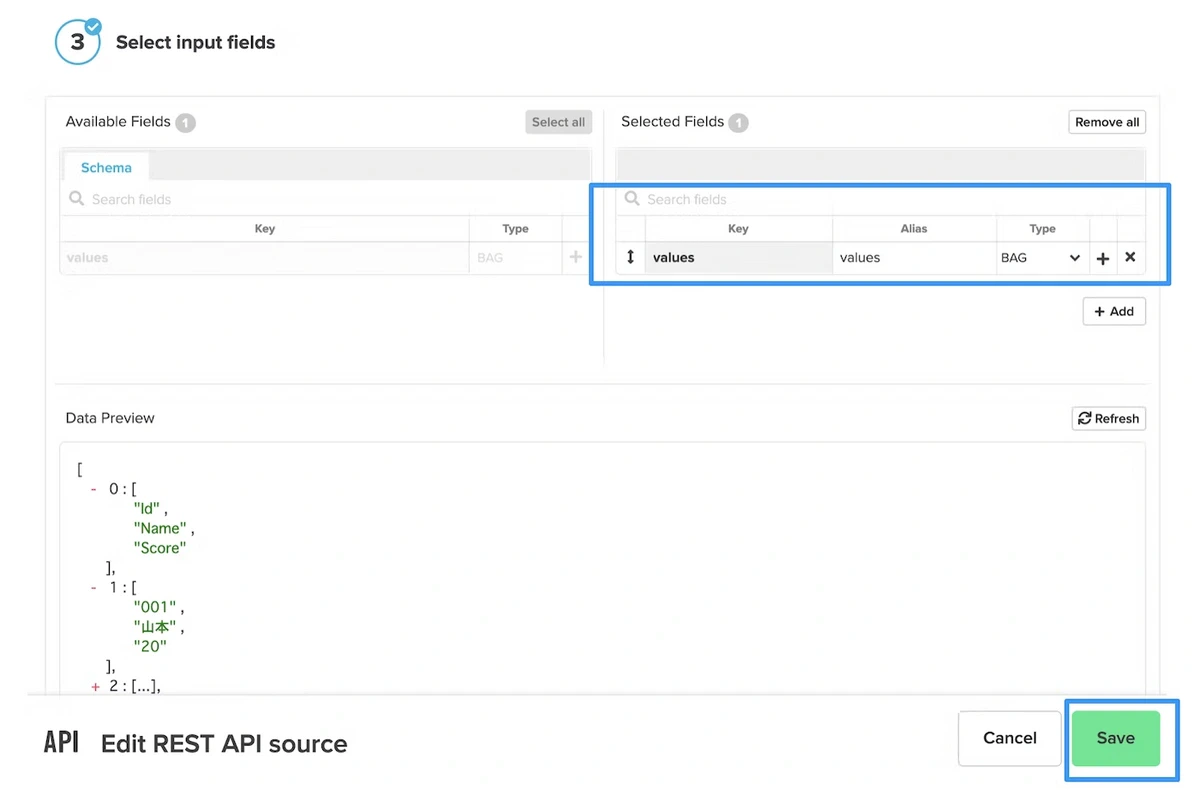
필드 선택
[
변환 1 : BAG 형에서 Tuple 형으로 변환
Select 컴포넌트에서 BagToTuple함수를 사용하여 Tuple 형식으로 변환 [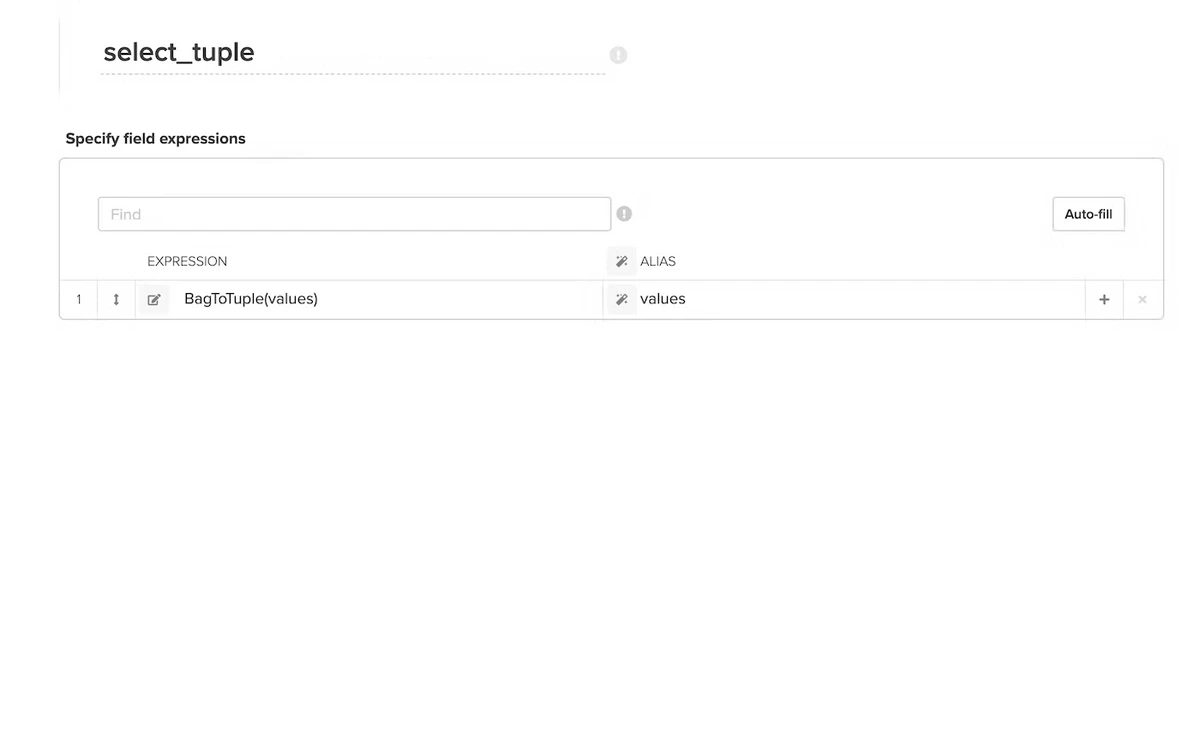
변환 2:배열 번호를 지정해, 각 열을 각각 취득한다
각각의 열을 배열 번호($0)를 지정해 취득함과 함과 동시에, Chararray 함수로 문자열형으로 변환한다 [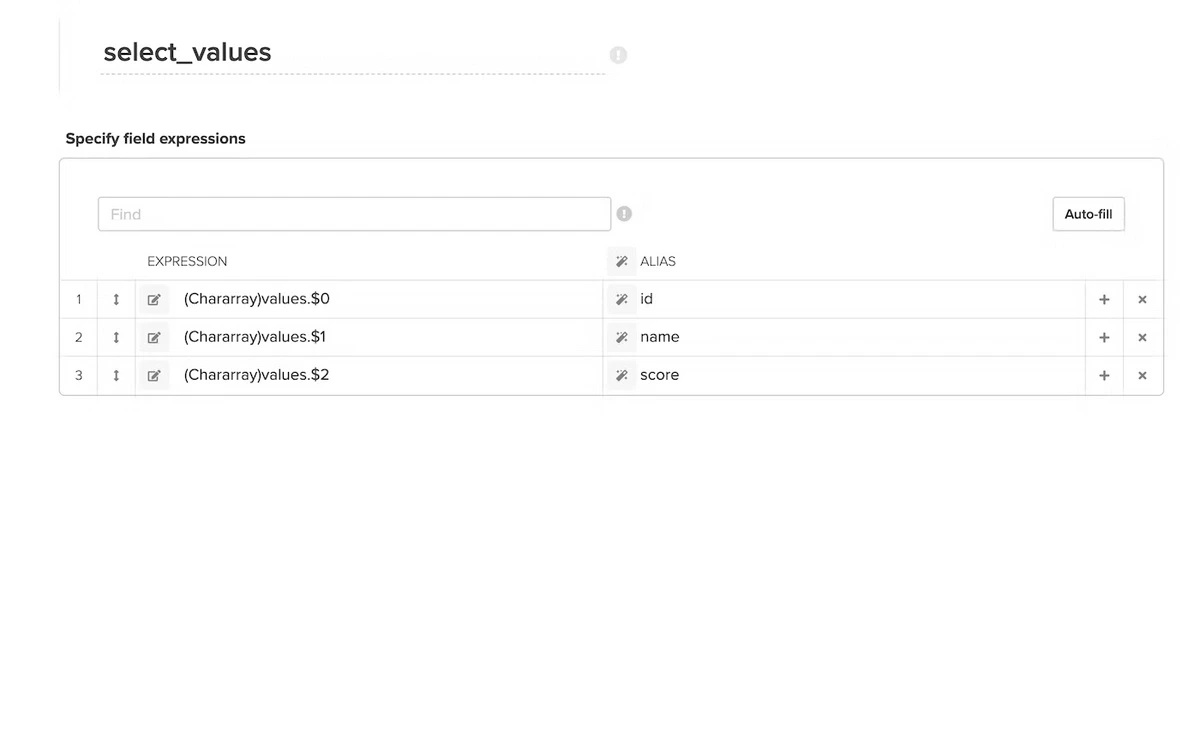
헤더 행을 필터로 제외
1행이 헤더일 경우, 필터로 제외한다 (Rest API측의 셀의 범위 지정으로 헤더행을 제외하는 방법도 있다.) 예) id열에 「Id」라고 하는 문자가 포함 없는 데이터만 추출 [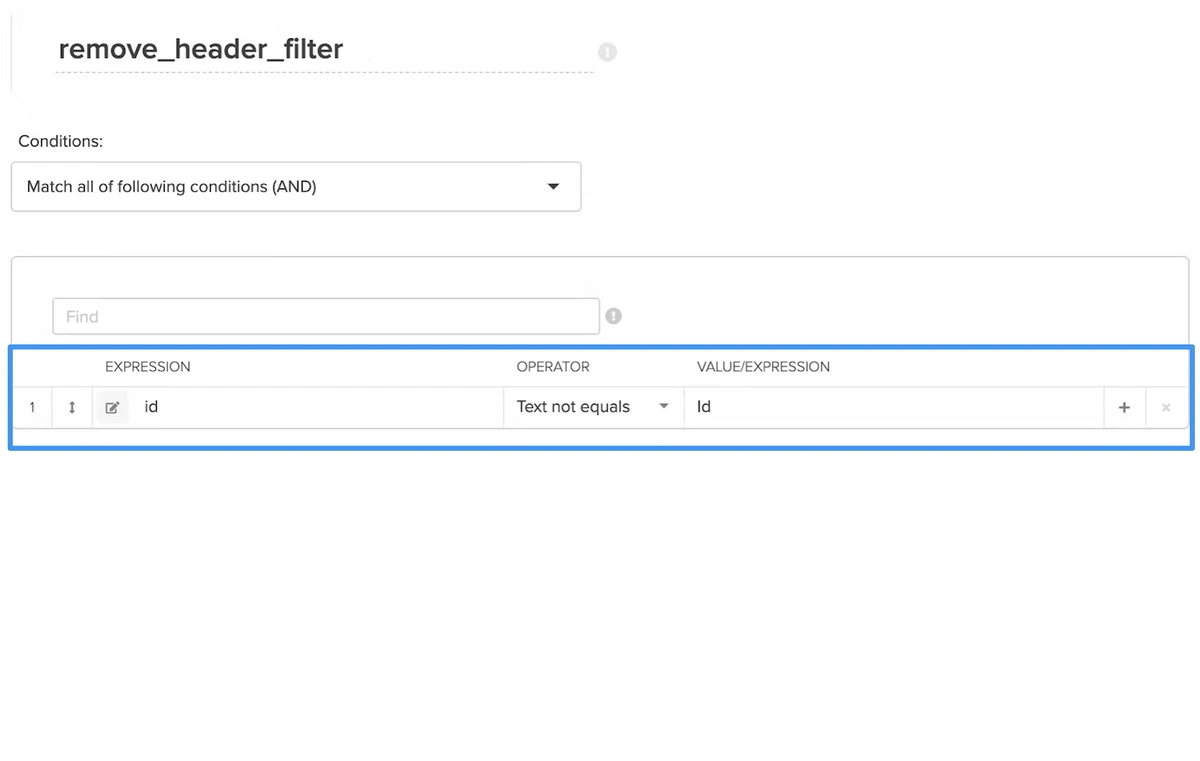
패키지 전체도
예) Snowflake가 저장 대상인 경우 다음과 같은 흐름이 됩니다. [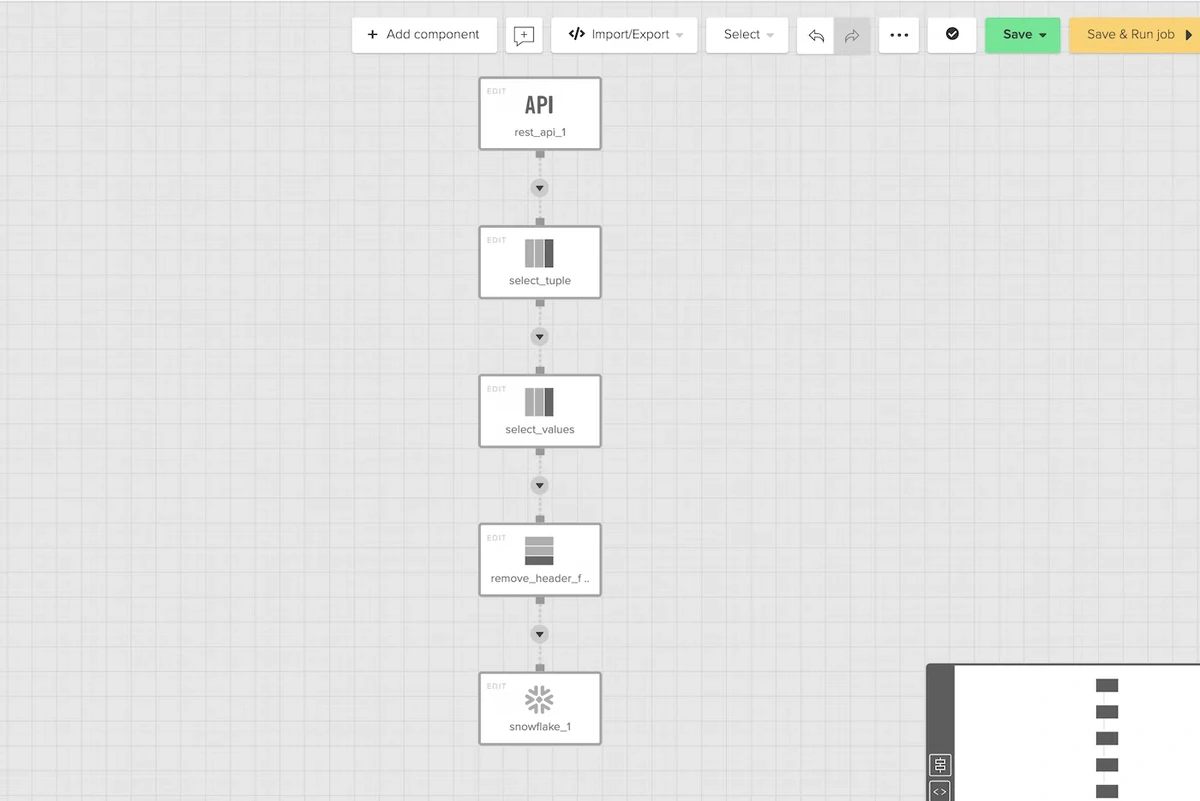
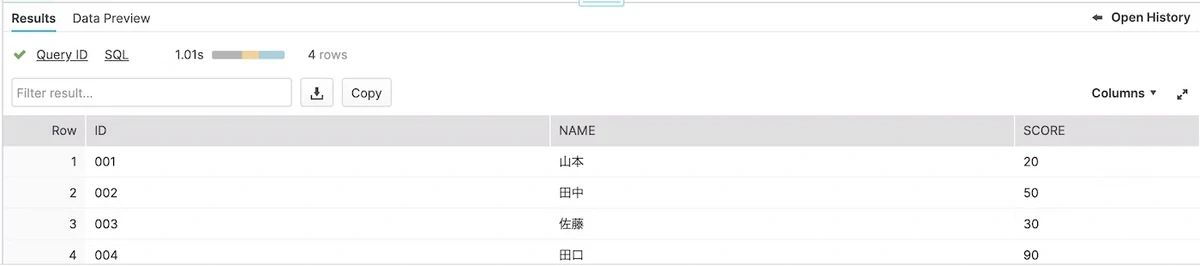
데이터가 올바르게 반영되었는지 확인
[
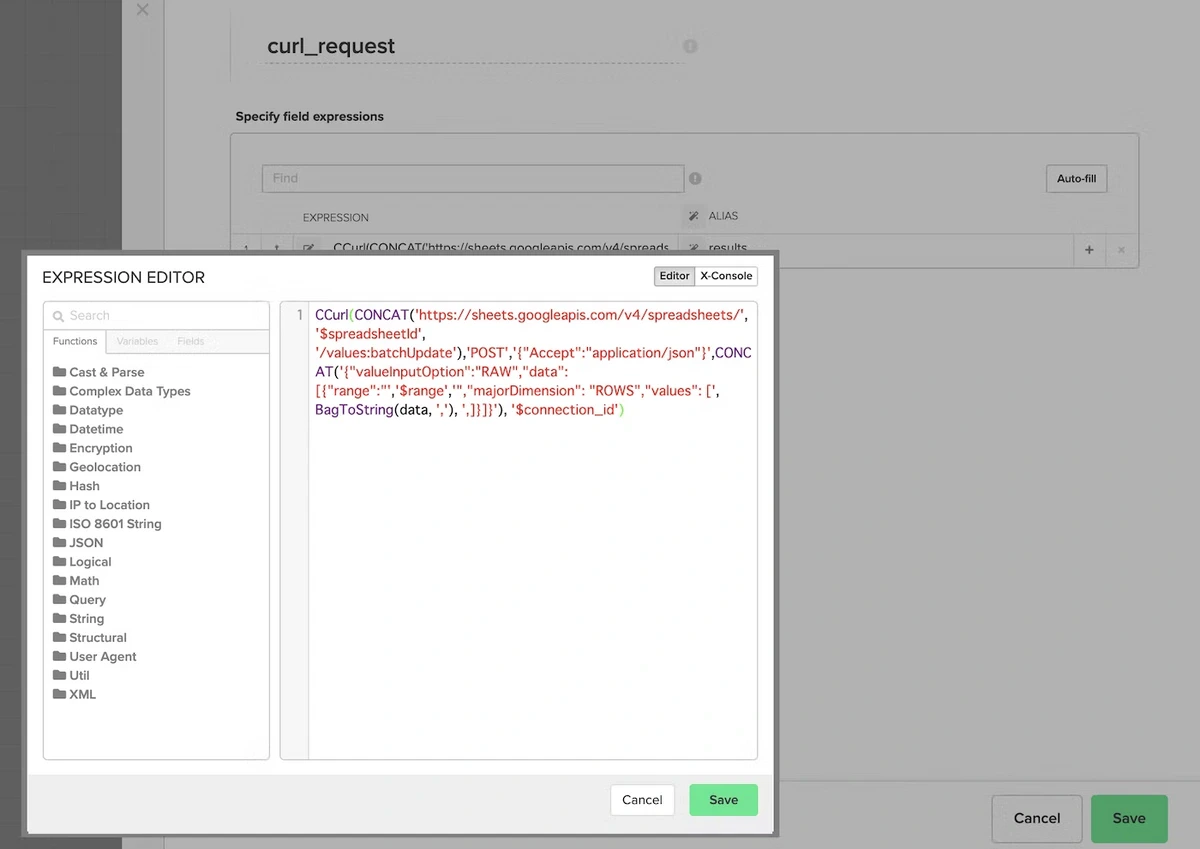
CCurl(CONCAT('<[https://sheets.googleapis.com/v4/spreadsheets/](https://sheets.googleapis.com/v4/spreadsheets/)>', '$spreadsheetId', '/values:batchUpdate'),'POST','{"Accept":"application/json"}',CONCAT('{"valueInputOption":"RAW","data":[{"range":"','$range','","majorDimension": "ROWS","values": [', BagToString(data, ','), ',]}]}'), '$connection_id')
위 요청에서 사용하는 변수 정보
$spreadsheetId: GoogleSheet ID 지정
$connection_id: Xplenty의 연결 ID 지정 (연결 화면에서 확인할 수 있습니다)
예 : GOOGLESHEETS_CONNECTION_9215
$range: 시트 이름과 셀 범위 지정
예: campaign!A1:N100000
<!— notionvc: 6d46c440-2067-476e-91af-d4123c4006ba —>