To create a YouTube connection in Integrate.io ETL
1
Click the Connections icon (lightning bolt) on the top left menu.
2
To create a connection, click New connection.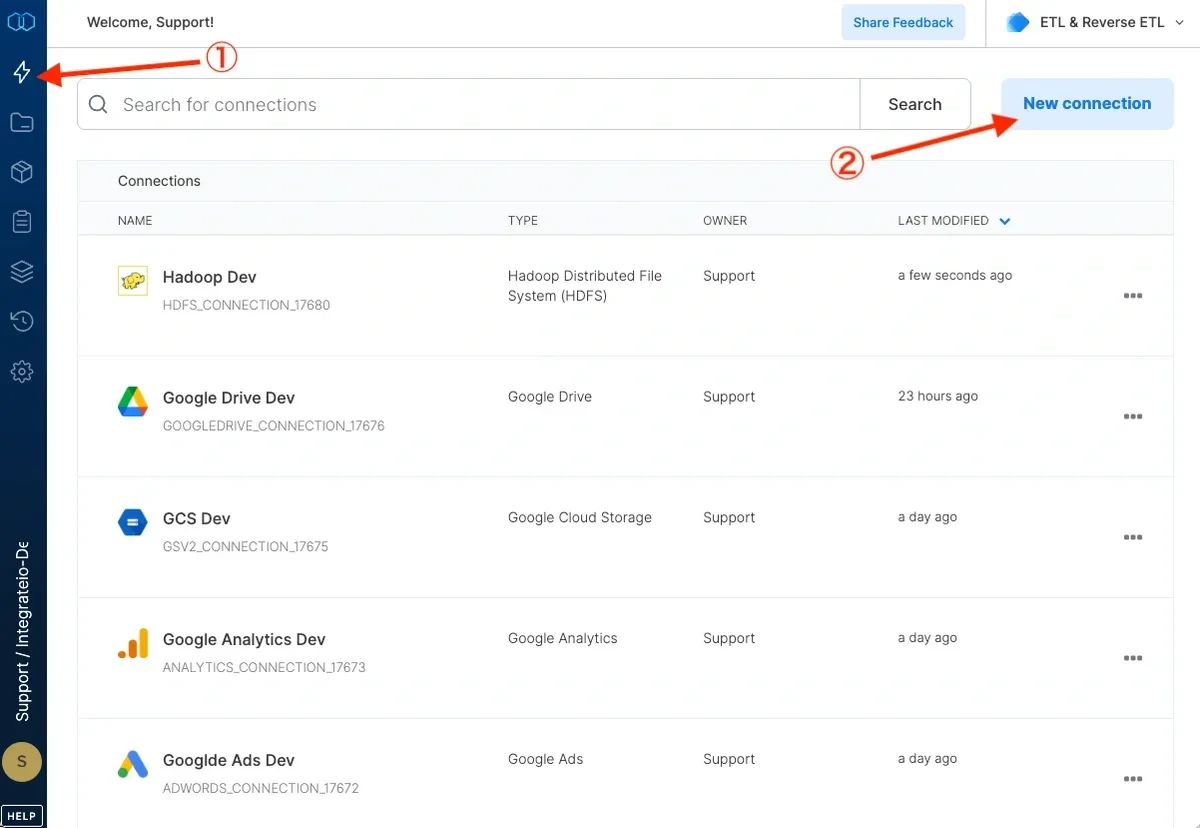
3
Select YouTube.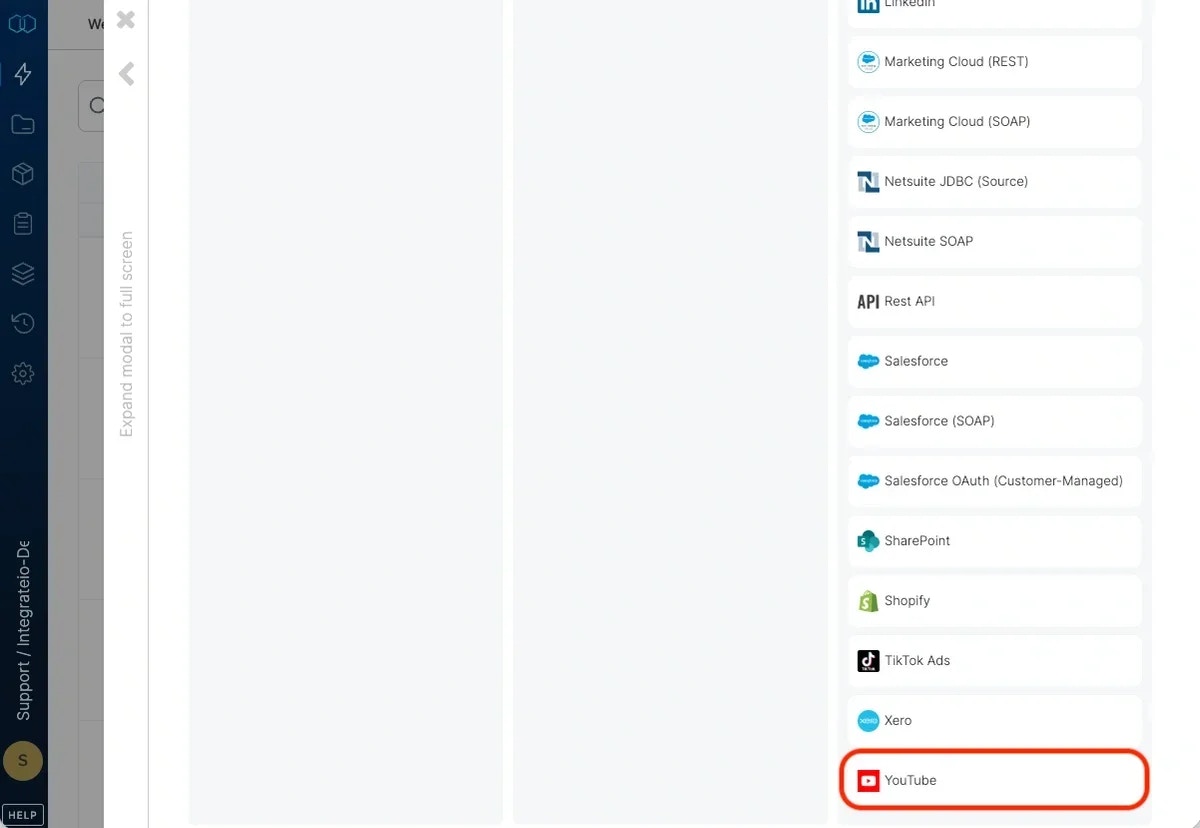
4
(If required, sign in to YouTube)
5
Click Authenticate to authorize Integrate.io ETL access to your YouTube account.
6
In the new YouTube connection window, name the connection and click Create YouTube connection.
To modify YouTube connections in Integrate.io ETL
1
Click the Connections icon (lightning bolt) on the top left menu.
2
Click a connection to open it and re-connect if your password has changed or the token has expired. Make any necessary changes, then click Reconnect, and Save changes. To exit the connection window without changes, click Back to connections (grey tab on the left side) on the connection window.
3
To delete a YouTube connection, click the three vertical dots on the far right of the connection listing and select the Delete connection option.
To build a data pipeline to read YouTube channel list data in Integrate.io ETL
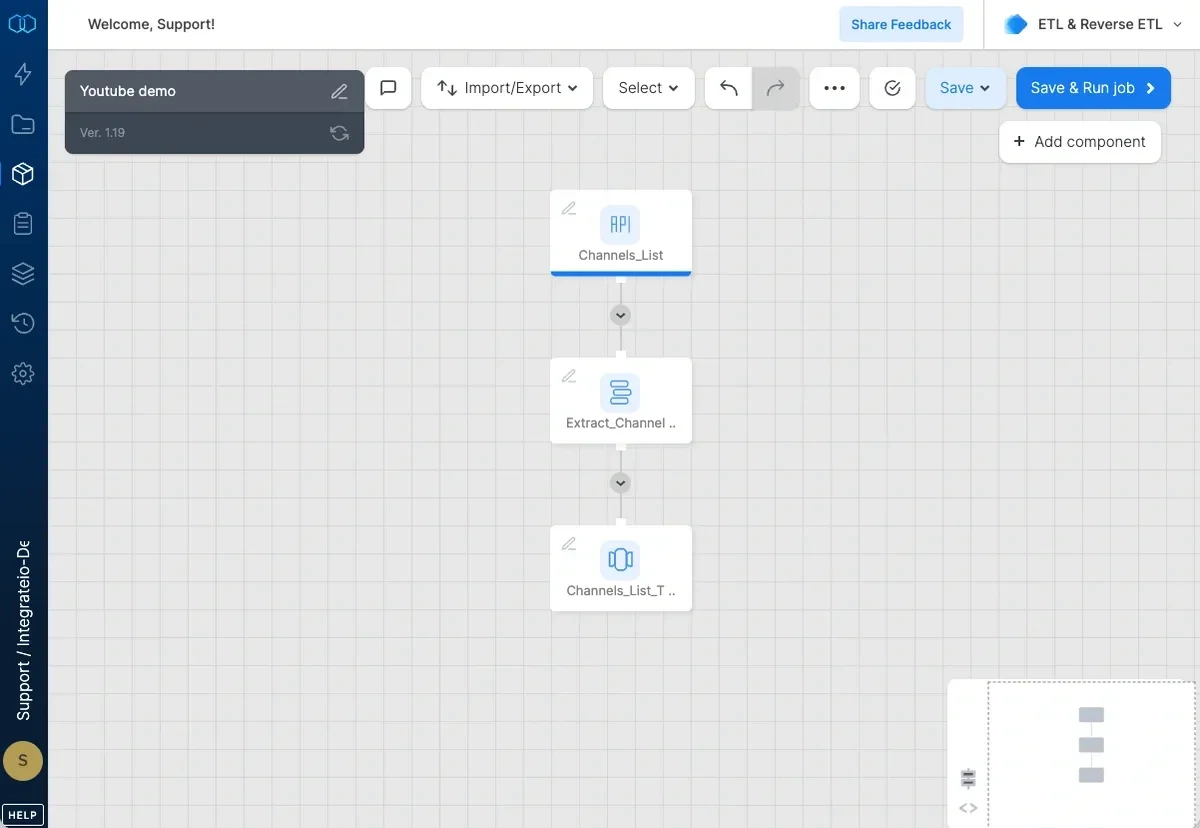
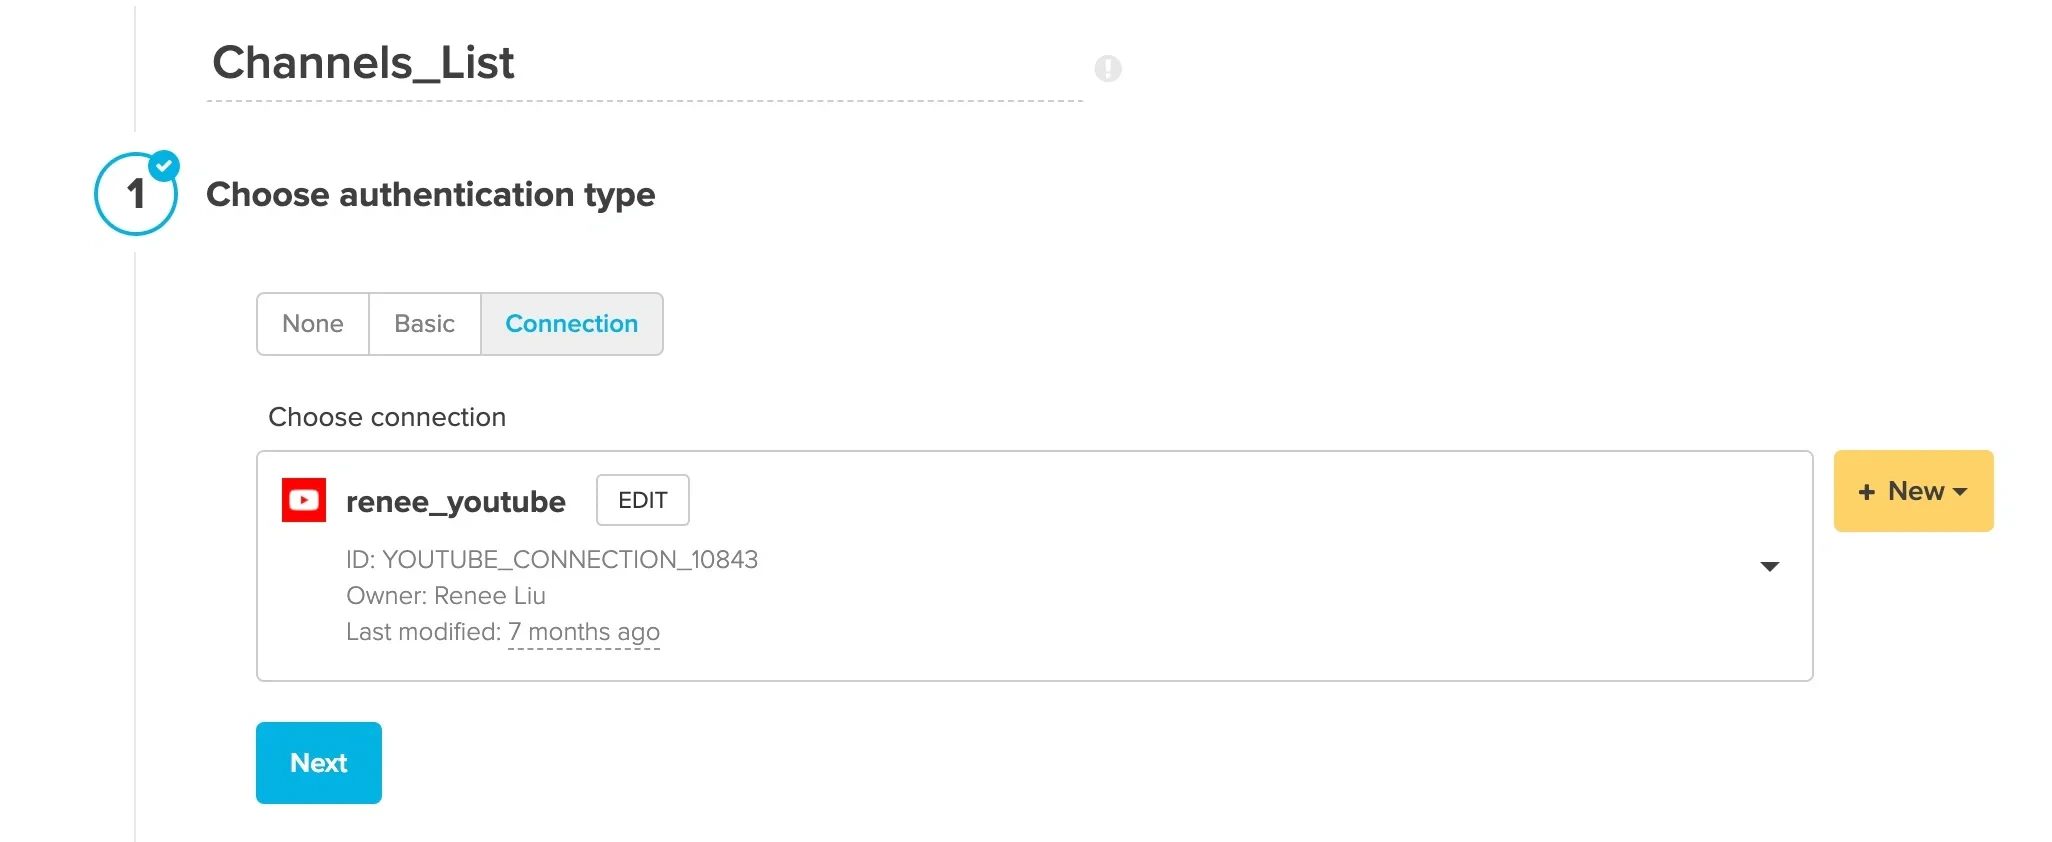
REST API Component: Channels_List
- Authentication - Click Connection and then select your YouTube connection. If you haven’t created your YouTube connection yet, click + New and follow the instructions found above.
- URL - Enter the URL for the Channel List endpoint of the YouTube API:
https://www.googleapis.com/youtube/v3/channels?part=snippet%2CcontentDetails%2CbrandingSettings%2Cstatistics&id=$Channel_id. Replace the variable$Channel_idwith your Channel ID. Make sure the method is set to GET.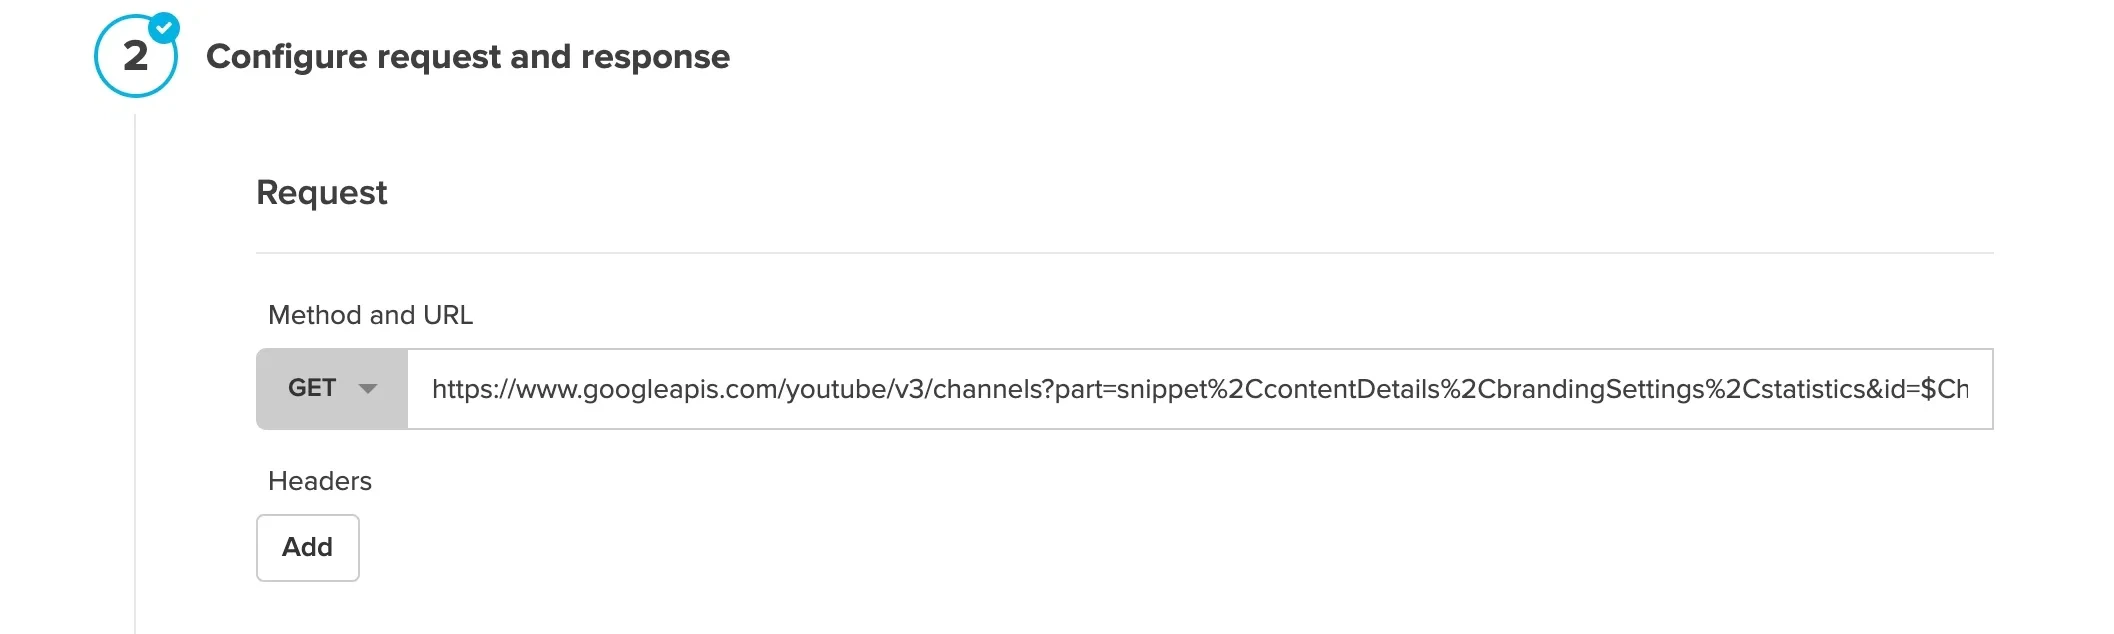
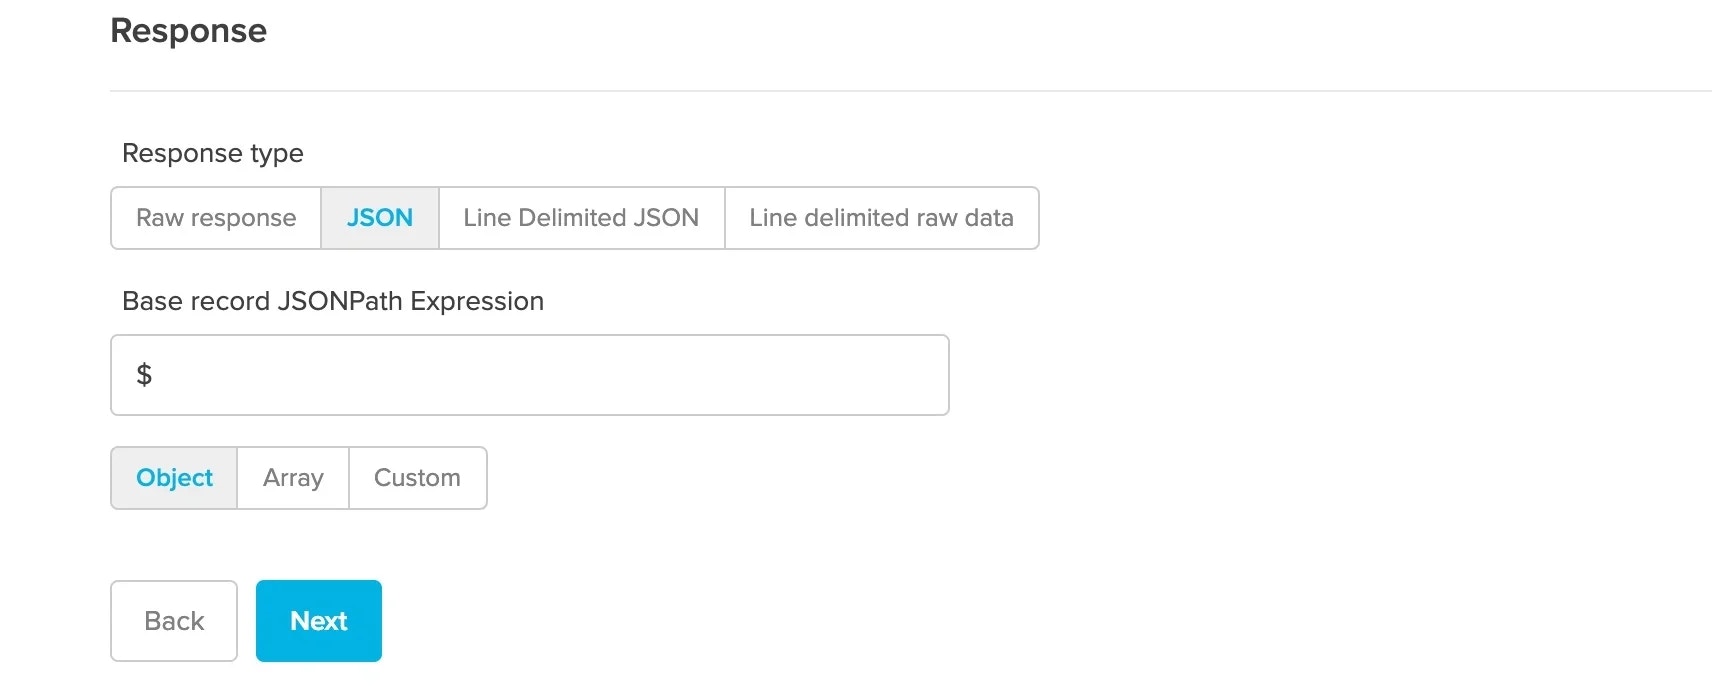
- Response - Make sure the JSON response type is selected as well as the Object record type.
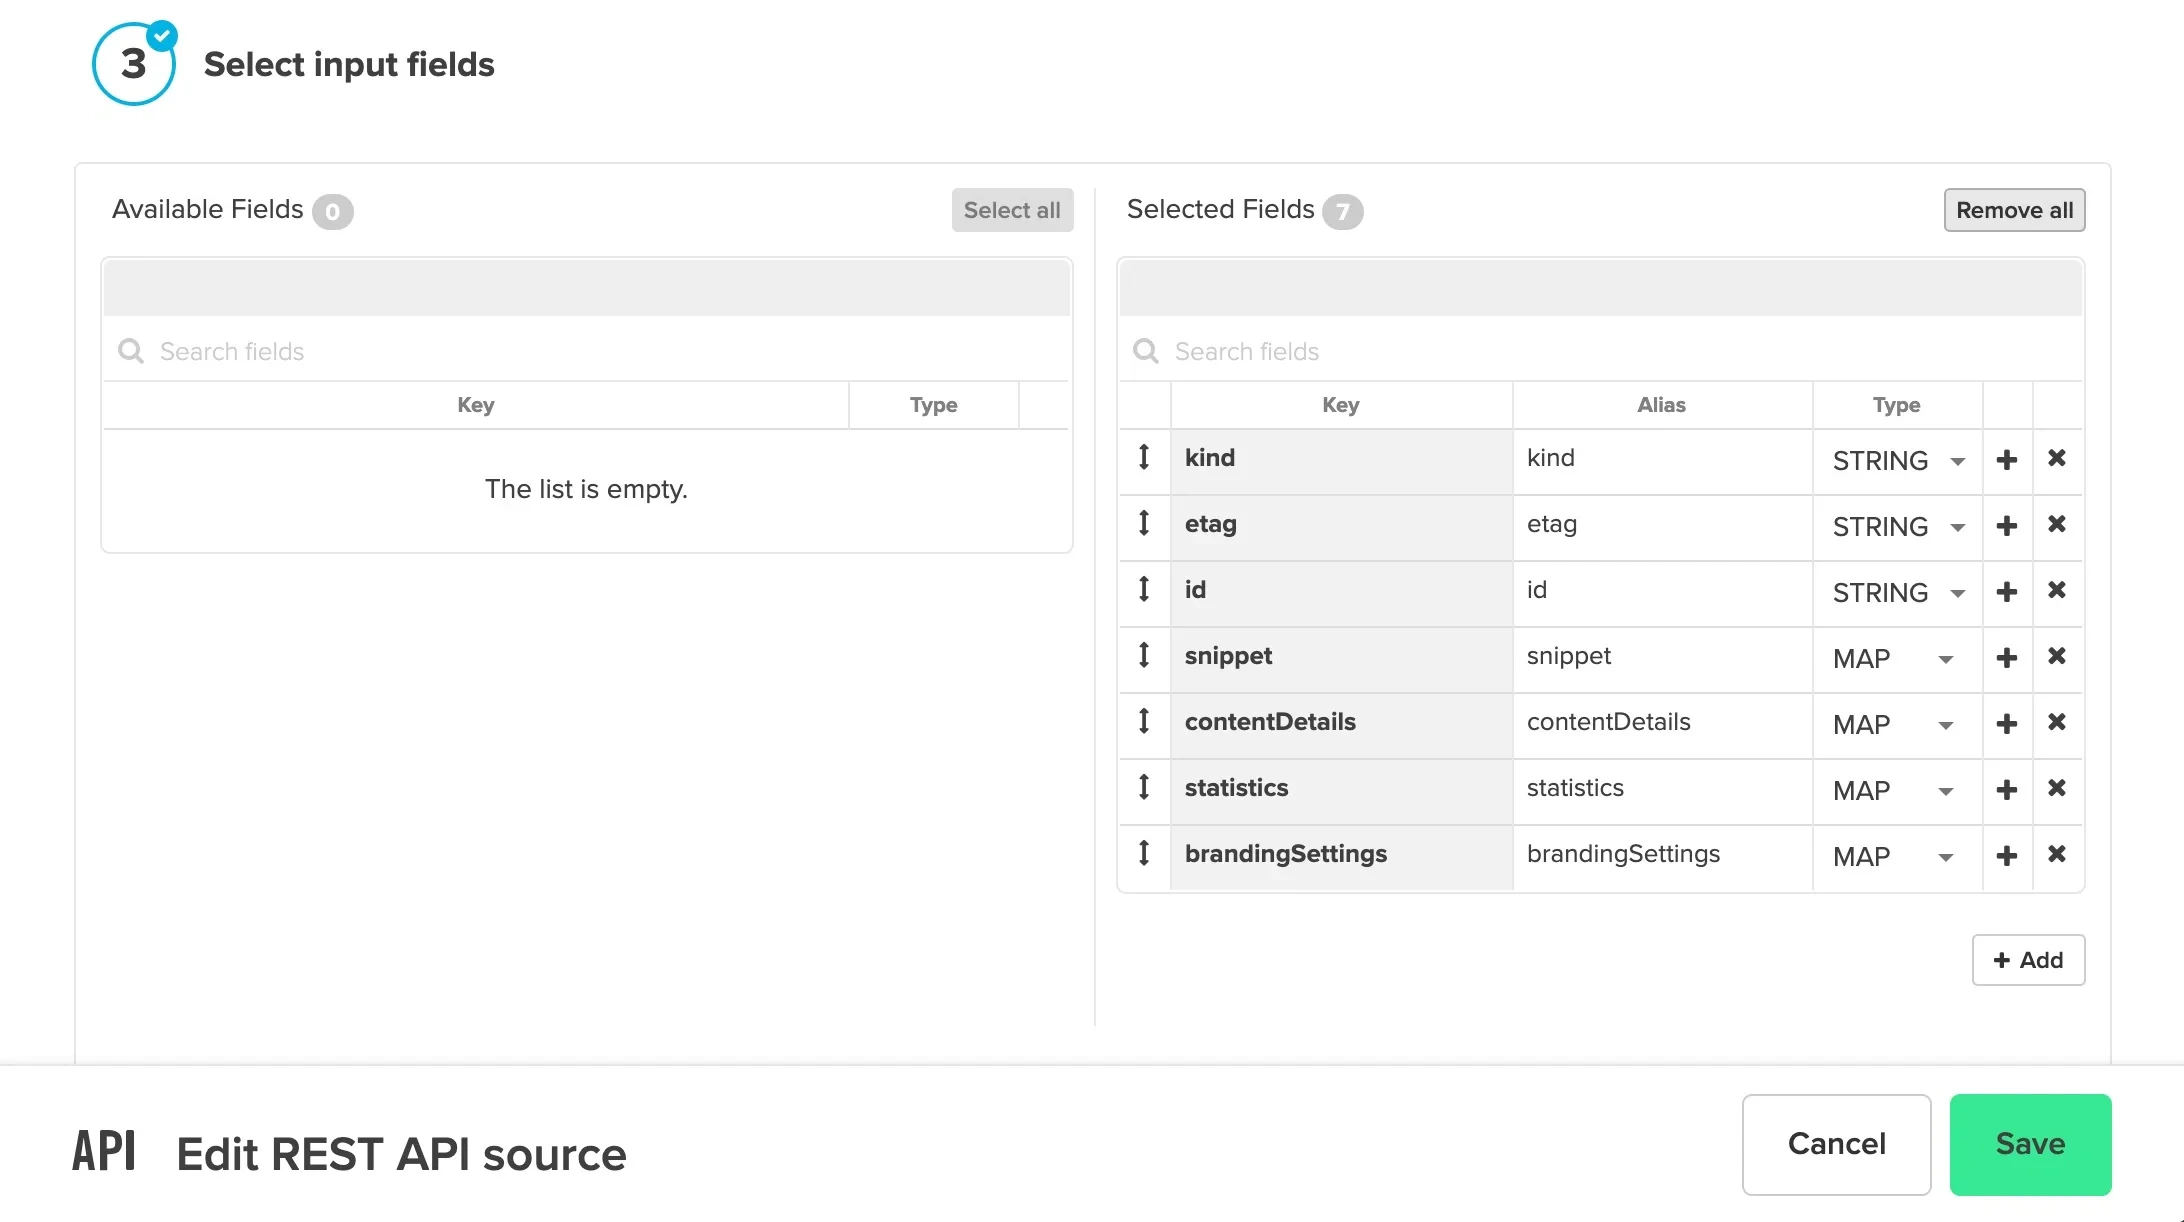
- Input fields - Click Select all to move all the Available fields over to the Selected fields or pick and choose which fields you would like by clicking on the + icon next to the field name in the Available Fields column. Then click Save.
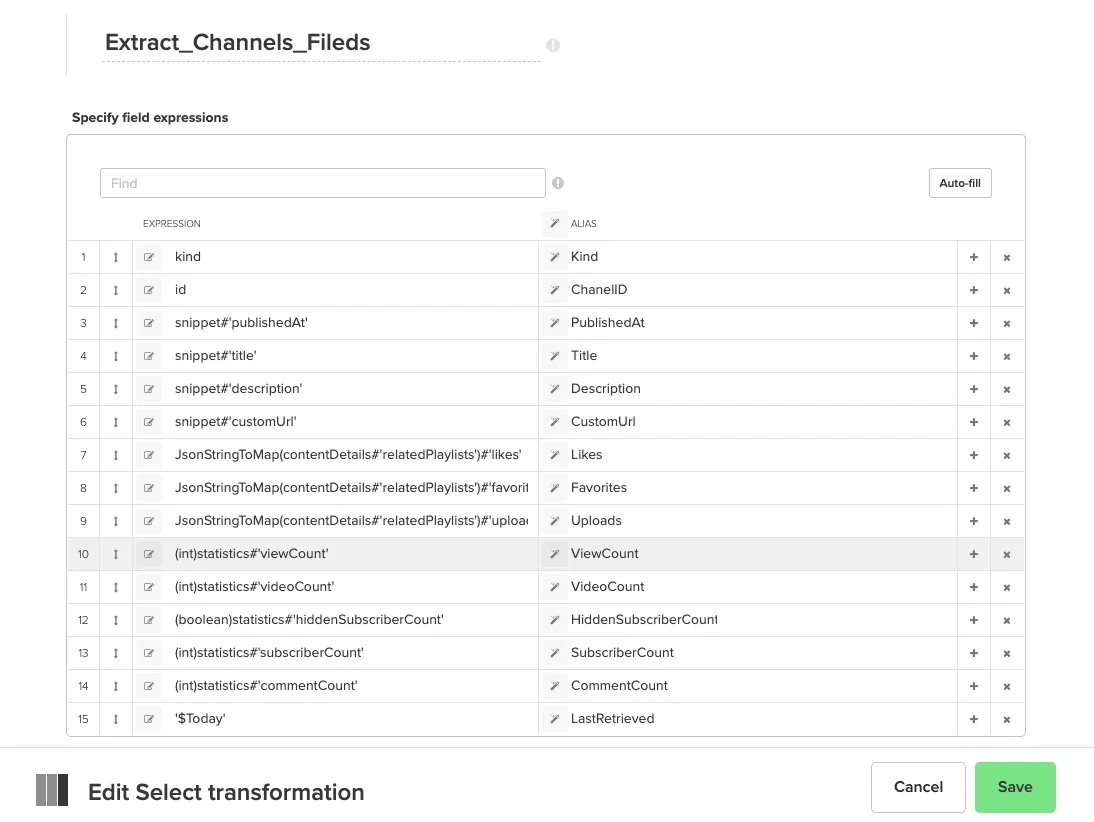
Select Component: Extract_Channel_Fields
- Click Autofill to bring in all the fields from the source component. Parse the nested fields inside the four Map fields (snippet, contentDetails, statistics, and brandingSettings) using this syntax: field_name#‘key’ For example, snippet#‘title’. For the nested field called relatedPlaylist inside the contentDetails field, use the JsonStringToMap function and then parse the keys within it (for more information on the JsonStringToMap function see this article; for information on processing JSON data see this article) like this: JsonStringToMap(contentDetails#‘relatedPlaylists’)#‘likes’. Click Save.
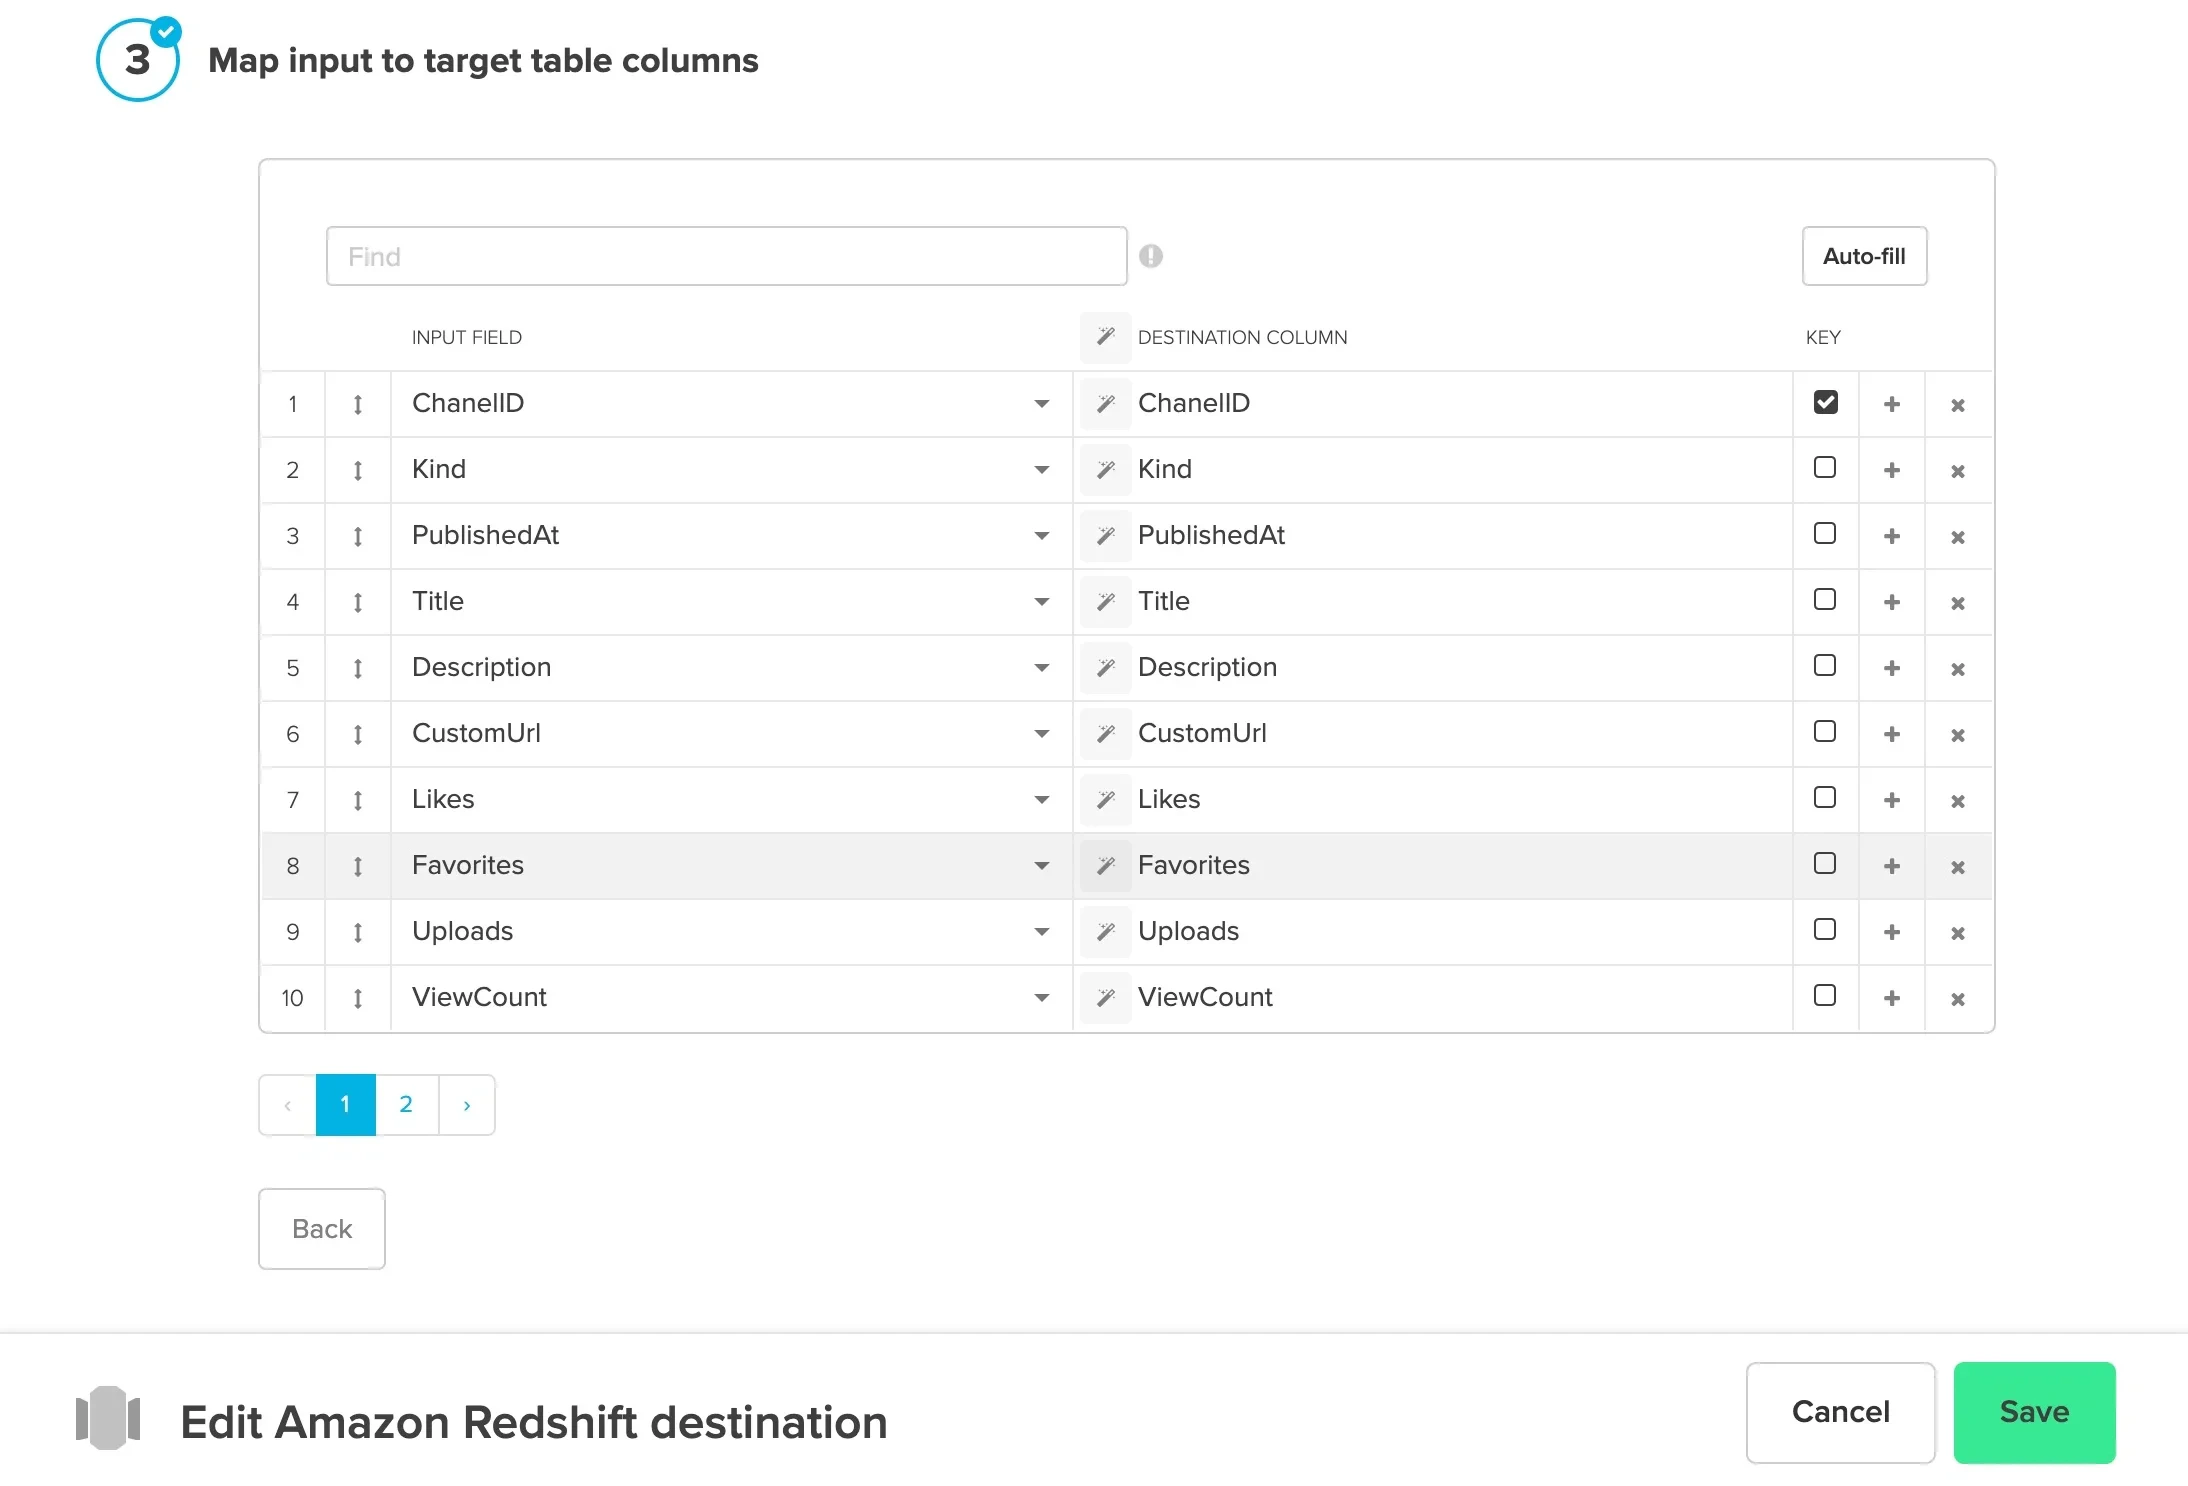
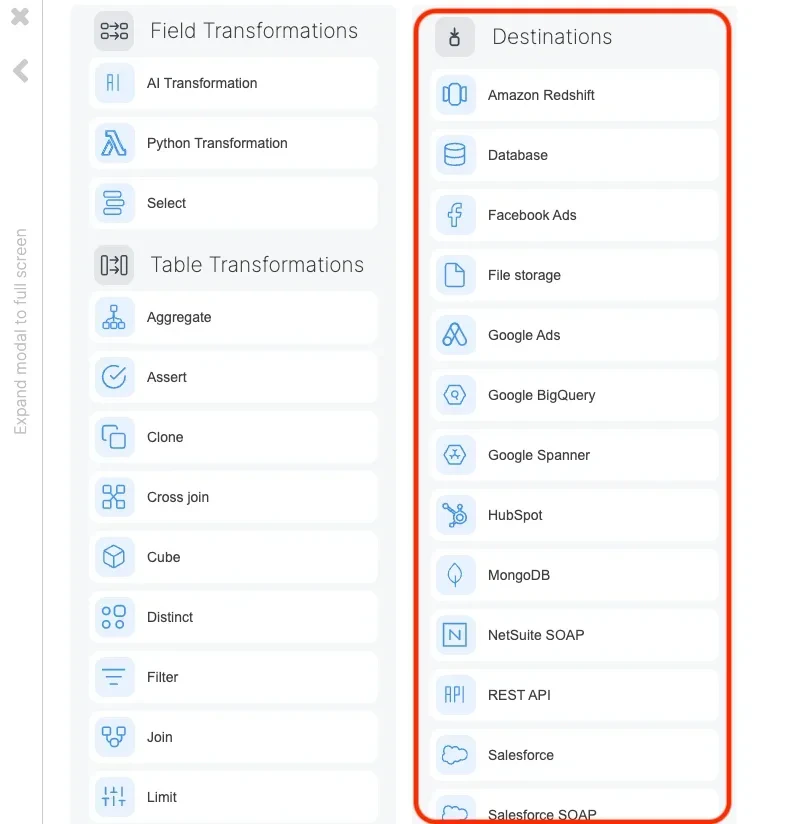
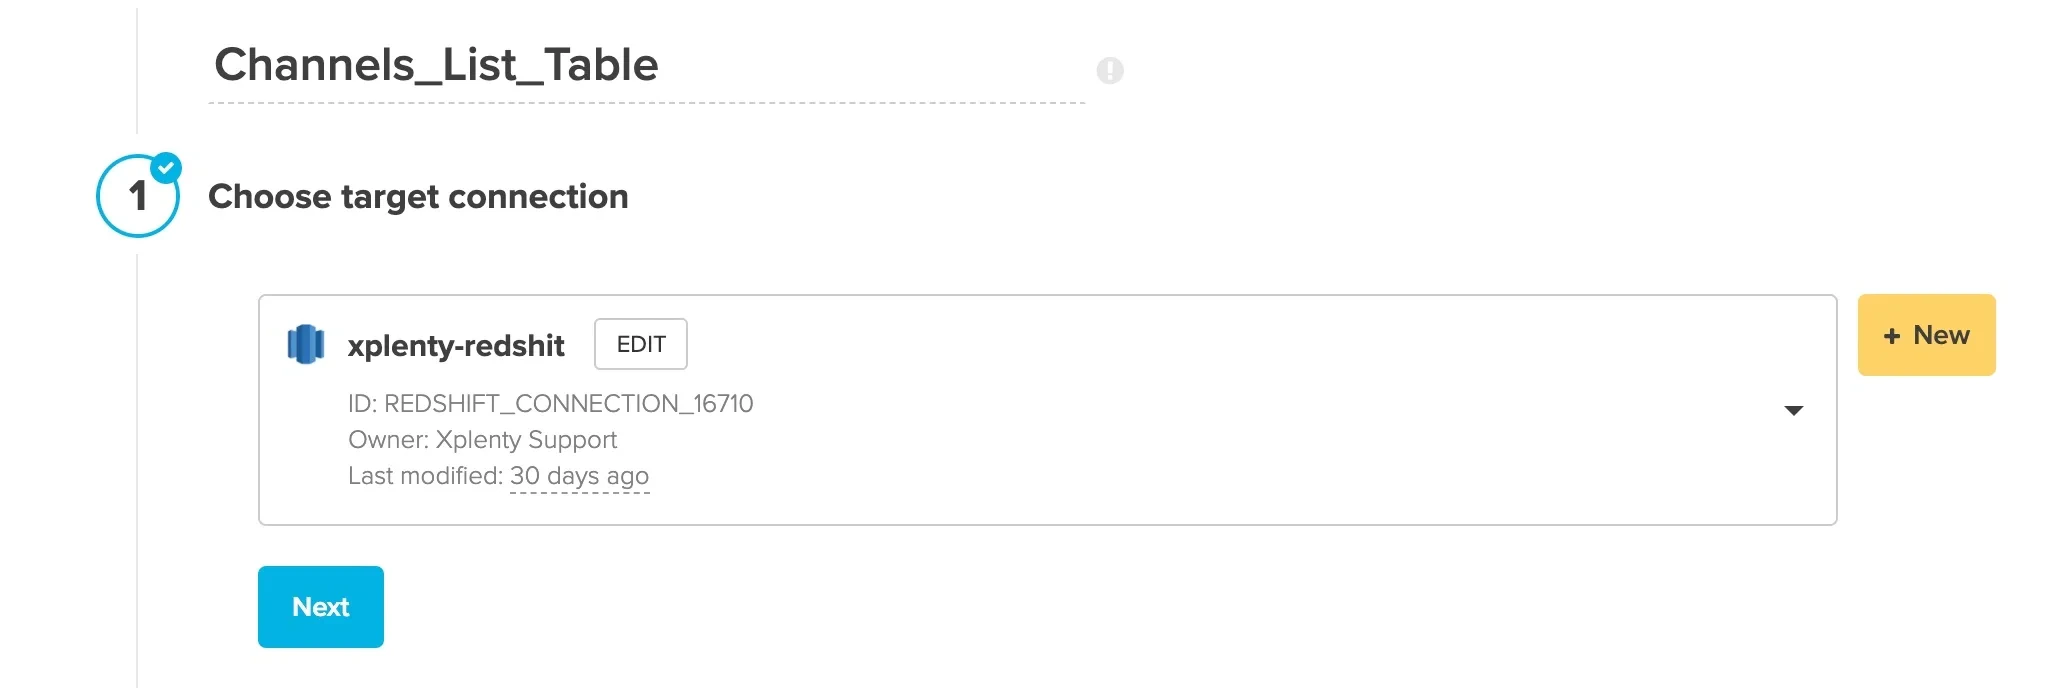
Destination Component: Channels_List_Table
- The template shows a Redshift destination component; however, if you’d prefer to use a different destination, delete the Redshift component and select a destination component of your choice.
- Choose target connection - Select your target connection. If you haven’t created your connection yet, click + New.
- Destination properties - Fill in the values for target schema and table, select an operation type, pre or post-action SQL, and advanced options.
- Schema mapping - Click Auto-fill to bring in all of the fields. If you’ve selected a Merge operation type, click the Key box next to the merge key field(s). Click Save.